
When you are shooting a video, getting audio without any noise is a challenge, and you have to make sure that you get the audio right so that your video comes out in the way that you imagined.
You can enhance the audio quality by integrating an external microphone with your 4K video camera. While the exact steps may differ based on the camera’s model and the microphone type, the fundamental basic steps will remain the same.
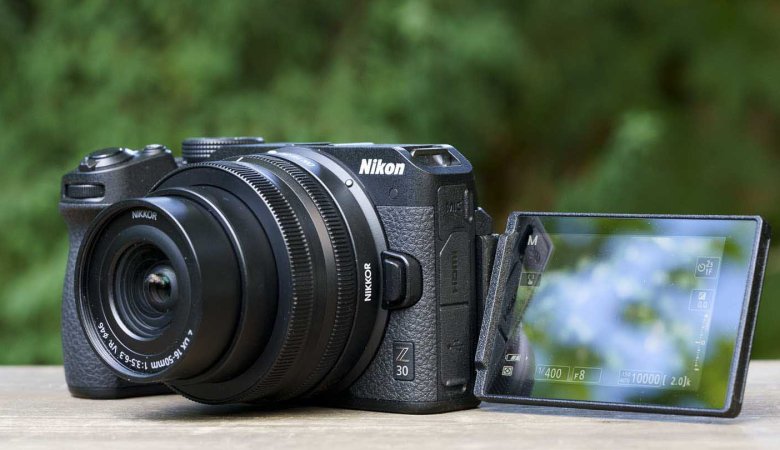
Connecting an external microphone to a Canon 4K video camera can slightly improve the audio quality of your recordings. The process may vary slightly depending on the camera model and microphone type, but the basics remain the same.
Steps on How You Can Connect an External Microphone to a 4K Video Camera
Step 1: Check for Slots and Compatibility
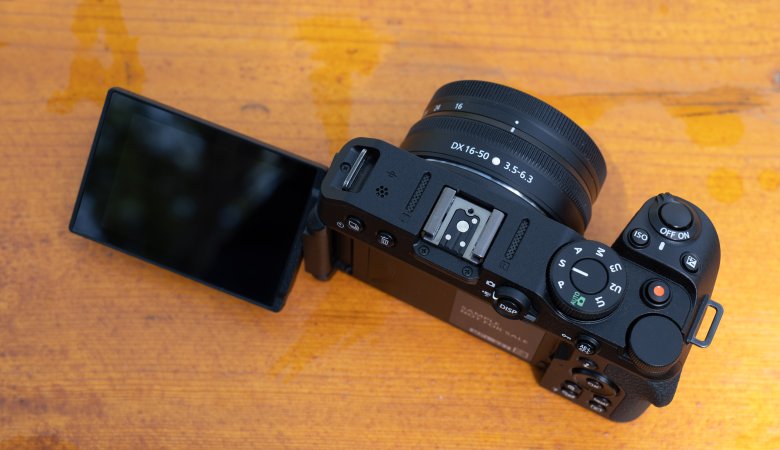
Prior to connecting an external microphone, you should check that your camera is equipped with an input designed for this purpose. In most cases, this input is a 3.5mm (1/8-inch) microphone jack. It’s important to note that many professional-grade cameras might feature XLR inputs, needing a distinct type of microphone. The 3.5mm jack accommodates a range of microphones, while XLR inputs demand microphones with XLR connectors. You can confirm compatibility between your camera’s input and the microphone’s connector for clear audio.
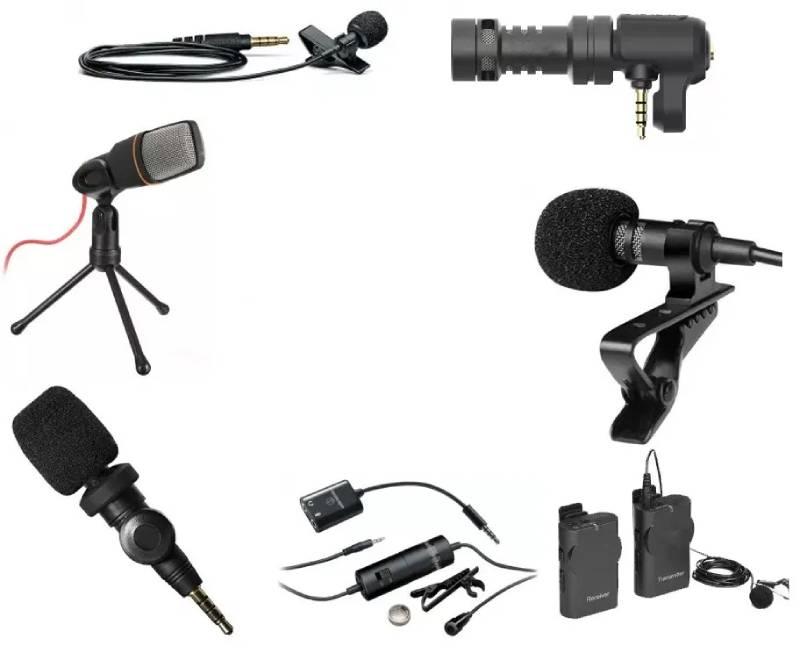
Step 2: Choose The Right Microphone
When you go on a microphone hunt, try to choose a microphone that suits your recording needs. There are a variety of types available, like shotguns, lavalier (lapel), and handheld microphones. You have to ensure the microphone has the appropriate connector for your camera’s input.
Step 3: Make Your Equipment Ready
Before proceeding, make sure that the microphone is charged. Additionally, confirm the availability of essential cables. Typically, a cable featuring suitable connectors at both ends is necessary. A smart choice is the 3.5mm TRS (tip-ring-sleeve) cable, which helps to connect the microphone to the camera’s input jack.
This cable type helps in the transmission of audio signals effectively. By guaranteeing the microphone’s power and possessing the right cables, you lay the foundation for successful integration, promoting improved audio quality in your video recordings.
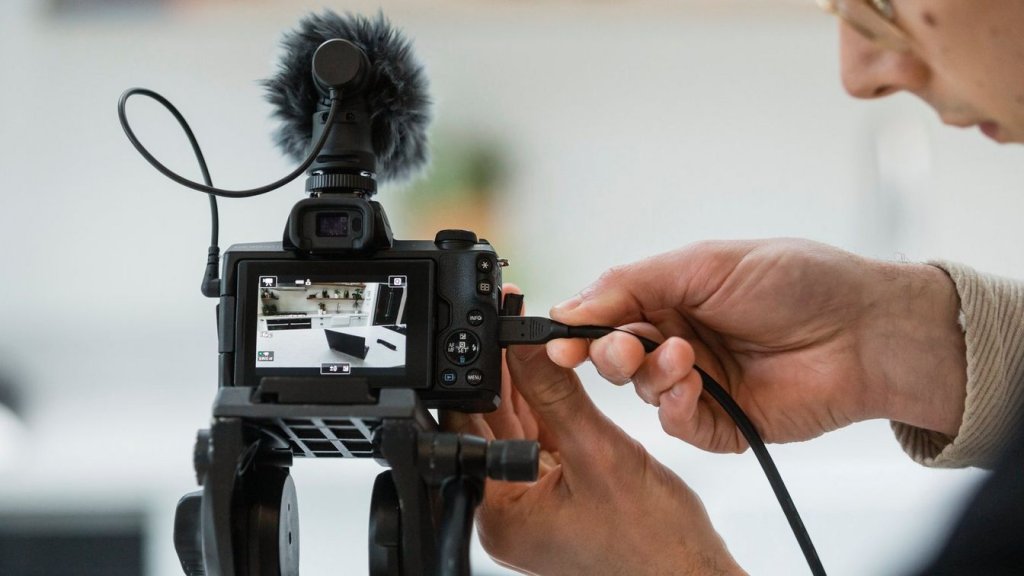
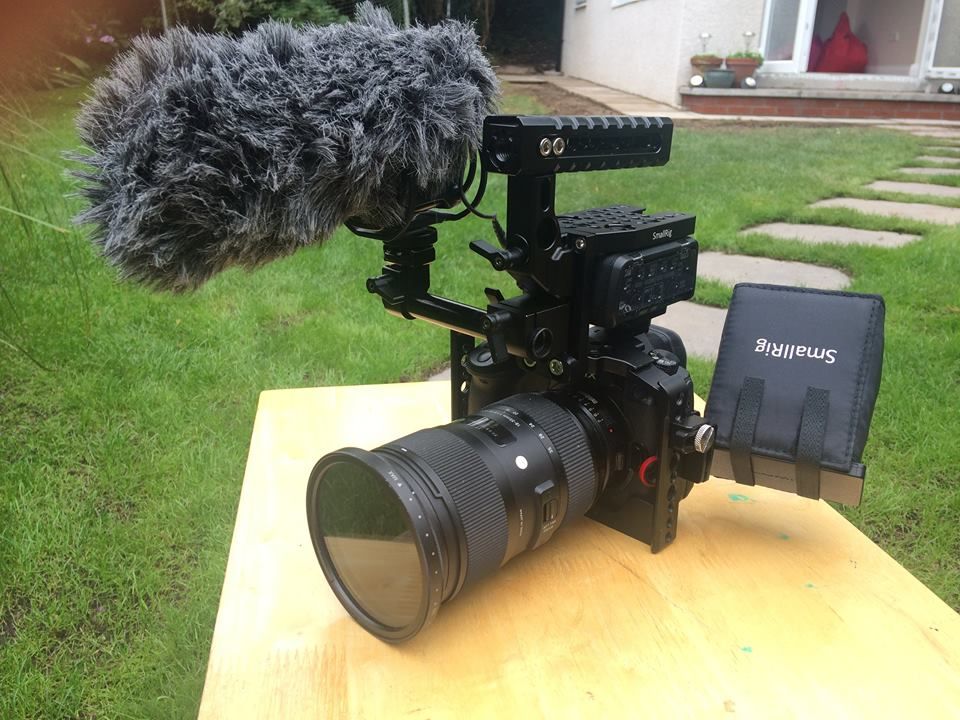
Step 4: Attach the Microphone
To set up the microphone, first, locate the microphone input jack on your camera. Once you have found it, insert the microphone cable into the input jack; if it’s a 3.5mm jack, make sure to plug it in securely. Alternatively, if the camera has an XLR input, you may require an adapter or a cable with XLR on one end and a suitable connector on the other end.
Step 5: Adjust Microphone Settings
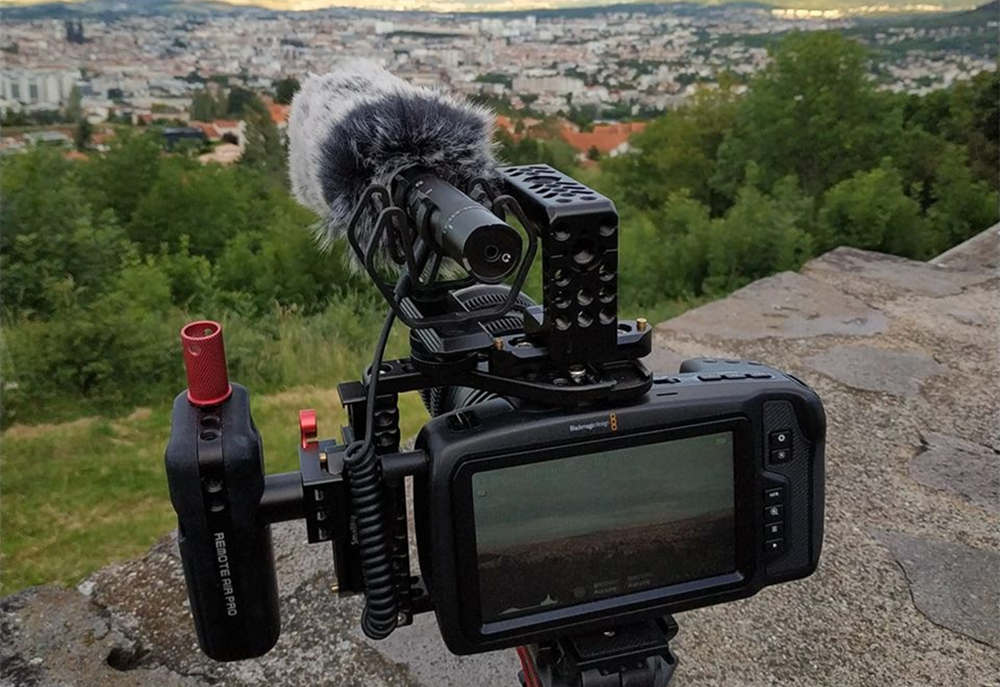
Find out the designated microphone input jack on your camera, typically situated near the audio or accessory ports. Gently insert the microphone cable into this jack, ensuring you have a secure connection. If your camera features a 3.5mm input, plug the cable in firmly.
Other than that, if your camera has an XLR input, you may require an adapter or a specialized cable that accommodates XLR connectors on one end and a suitable connector for your camera’s input on the other.
This is a very important connection that will create a crucial link between the external microphone and your camera, giving you improved audio recording capabilities.
Step 6: Test Everything
Once you have connected your microphone to the camera, it is now the time to test and monitor everything. Start by connecting headphones to your camera, if possible. This will allow you to monitor the audio quality while recording. Take a test recording with your external microphone.
Also, pay attention to the audio levels and make sure they are not clipping (distorted because of high volume). You can adjust the microphone placement and camera settings as needed for optimal audio quality.
Step 7: Look Out for Other Accessories
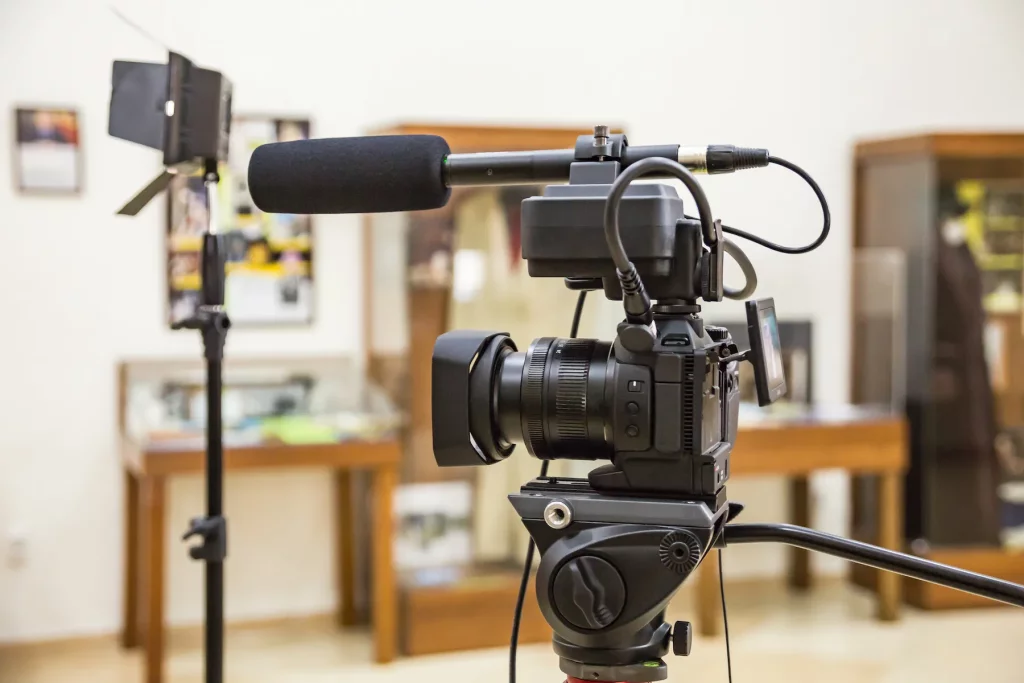
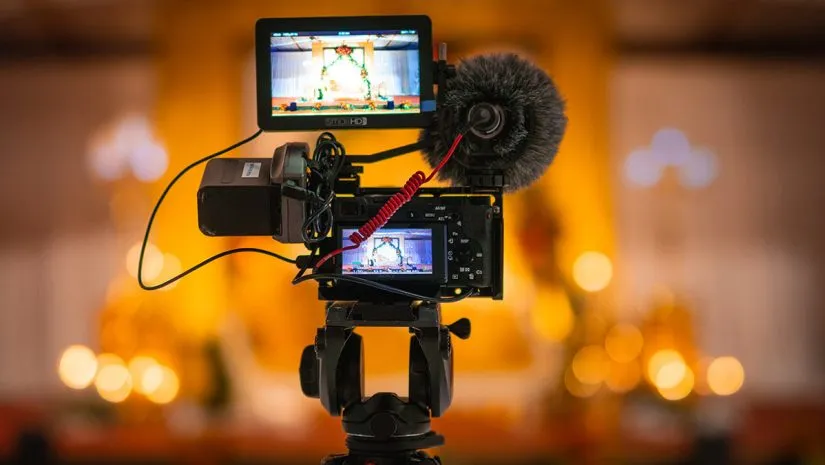
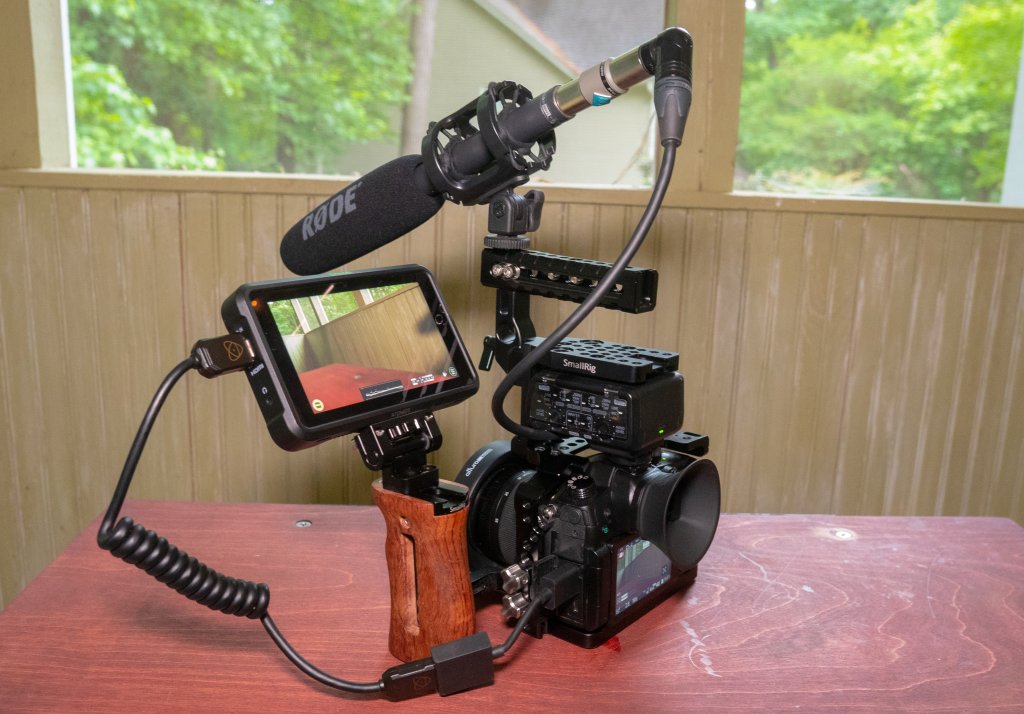
Consider your recording environment when looking for optimal audio quality. The outdoor recording might have windshields to shield the microphone from wind interference. To reduce handling noise, employ shock mounts that isolate the microphone from vibrations and movements. Extension cables can enhance microphone placement flexibility, enabling you to position the microphone optimally without constraints.
These accessories add to your external microphone, addressing specific challenges and refining audio capture. Customizing your setup to accommodate such accessories ensures that your audio quality remains perfect across all recording scenarios, from studios to outdoors.
Conclusion
In conclusion, seamlessly integrating an external microphone with your 4K video camera is an important step toward uplifting your audio recording quality. This simple yet impactful step, involving cable connections and settings adjustments, opens the door to a lot of improved audio clarity and depth.
Whether clicking moments indoors or amidst the elements, the right microphone and accessories can improve your recordings. By heeding compatibility, making precise connections, and optimizing settings, you unlock the potential for a richer auditory experience in your videos.
See, the specifics might differ based on your camera and microphone type, so always use the user manuals for both the camera and microphone if you face any difficulties or need model-specific help.
If you are looking for more informative guides that can help you uplift your recording skills, follow our blogs and learn more about it.
Leave a Reply