
You have got the best pictures in the highest resolution camera, but you don’t know how to edit them? If you lose the quality of your image after you edit it, you are not doing it right. The purpose of editing an image is to enhance the beauty of it and not the otherwise, and editing is so much more than cropping and applying filters to your pictures.
Photo Editing is a post-production process in digital photography where adjustments are made to the original photo. There are minute adjustments and settings that can totally change the way a picture looks.
Here are 8 basic steps and some tips to master the skill of editing photos that are taken with the highest-resolution camera.
1. Select a Software
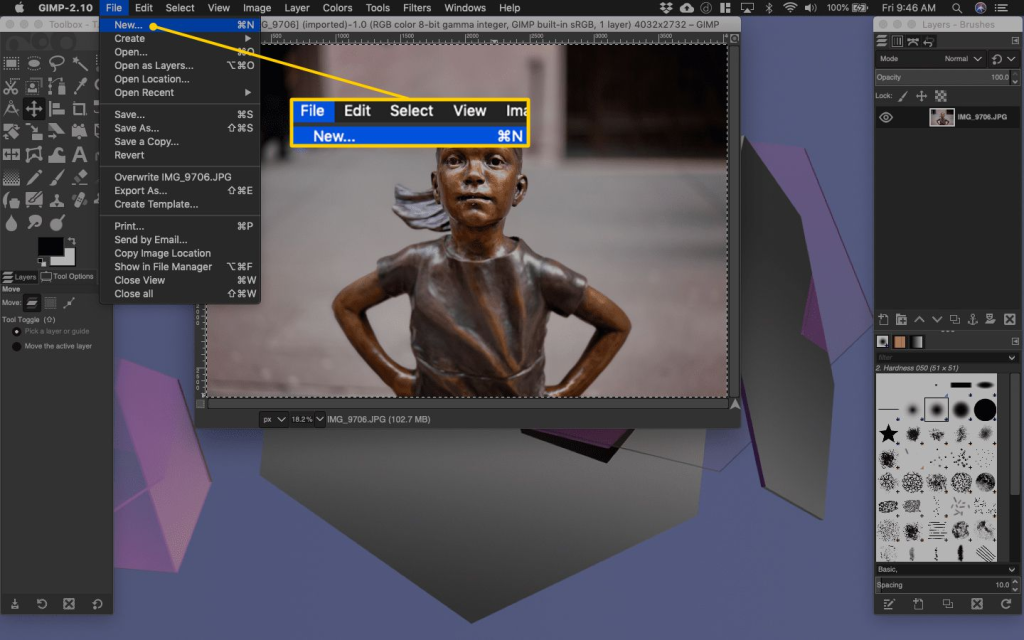
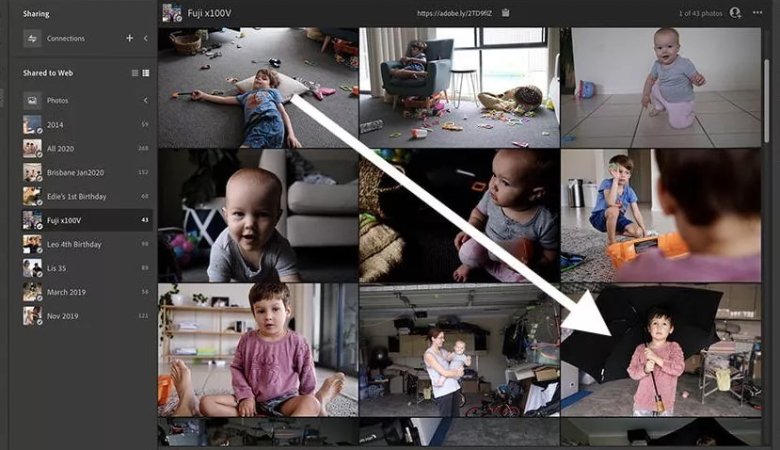
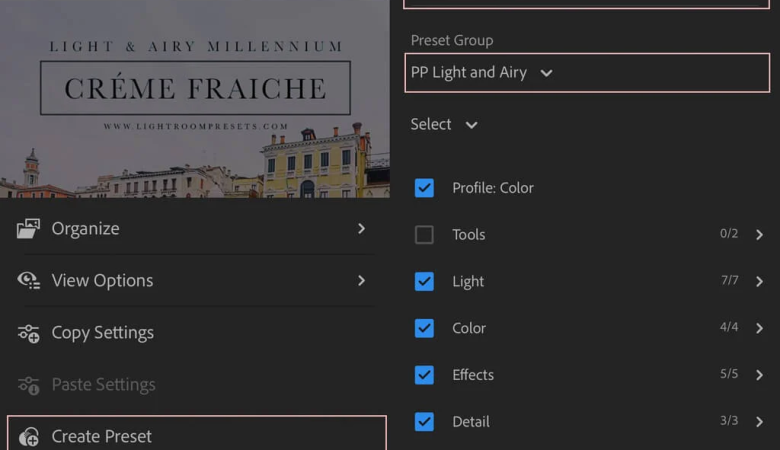
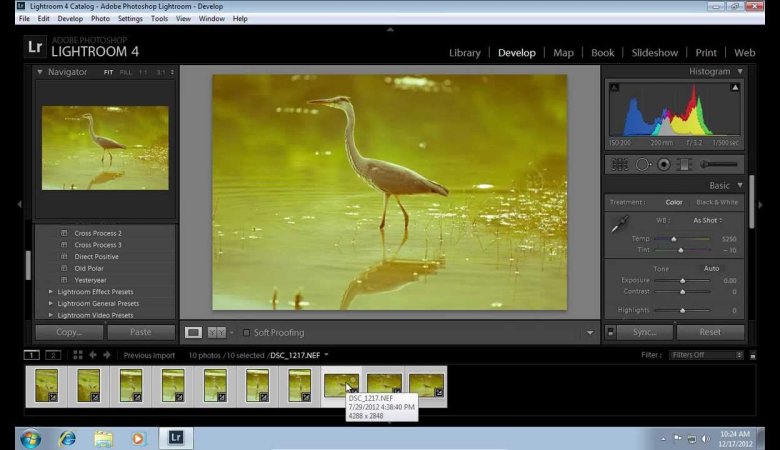
High-resolution pictures need proper software for editing. Selecting a photo editing program is crucial; the kind of software you use to edit the pictures decides the kind of output you get. Several apps are available with intuitive interfaces; they are great if you are starting and learning how to edit your pictures. But if you want to do it professionally, use industry-standard software like Adobe Lightroom and Adobe Photoshop. You can pretty much do everything by using this editing software.
2. Crop and Straighten Your Image
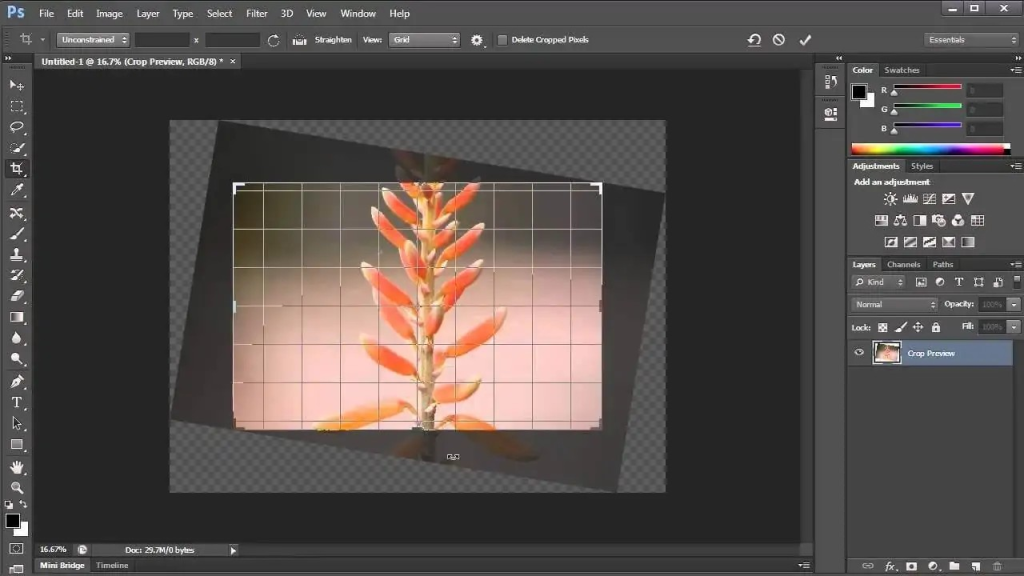
Cropping high-resolution pictures fixes compositional issues. You can correct if the photo is too wide tilted or if it is not clicked at the right angle by cropping and straightening it. It provides symmetry and a perfect frame for your image. It is important to know the resolution of a photograph when you are cropping because doing it overly can lead to its quality reduction. This is a very powerful tool when you know how to use it correctly, especially in landscape photography.
3. Remove Unwanted Elements
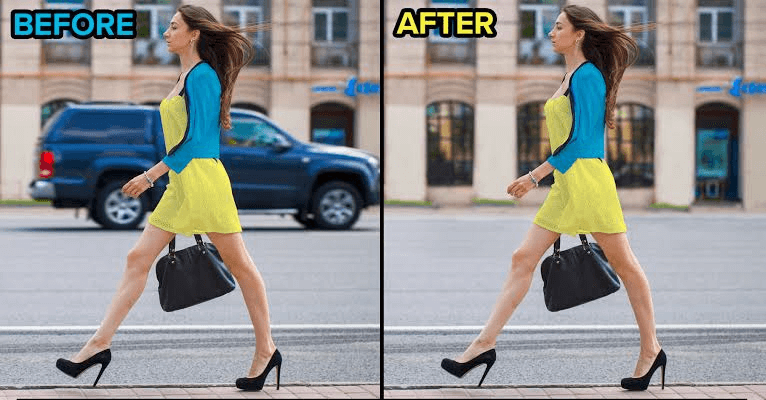
After you get your frame by cropping, you can remove any unwanted element from the picture. It can be a large object, like a cloud or a bystander, which is ruining the beauty of your picture when you are editing a landscape image. Or it can be minute things like skin blemishes and stray hairs when editing portrait images. This is an advanced step in photo editing and a very important one too. There are various tools available in Photoshop that help you do it right.
4. White Balance Correction
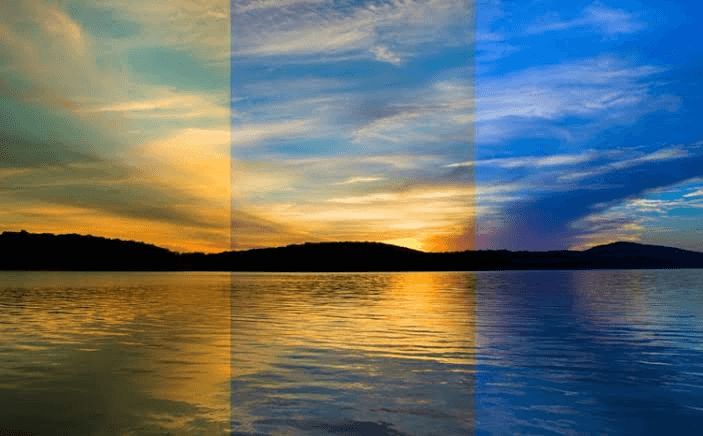
White balance correction enables you to manipulate the tone of the picture; it balances the color temperature that is coming from the light in the picture. The software also has some automatic white balance corrective tools, which you can use by selecting the quality of light the picture is shot in. This is a quick fix, but it does not work right with every sort of image. Keep experimenting and try to do it manually to get the hang of the technique.
5. Correct Exposure
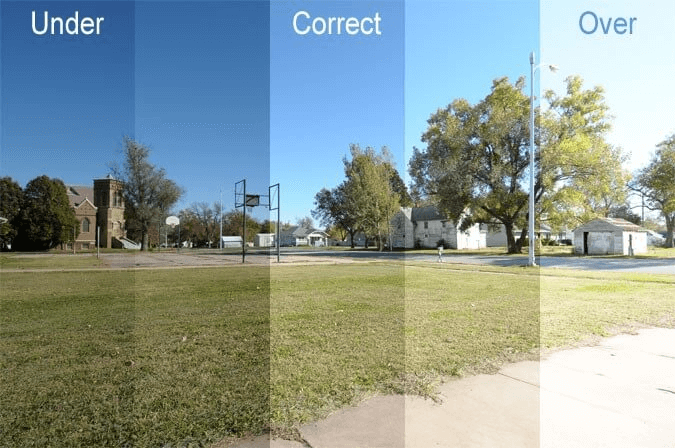
Exposure is the amount of light that reaches your camera when you click a picture, which decides the brightness of your picture. A high picture taken from the high resolution camera can also come overexposed or underexposed, which can be fixed by editing. There are outright options in your software for it; look for the adjustment titled “Exposure” or “Brightness.” Remember, when you play with the exposure of an image, it also automatically adjusts the highlights and shadows of the image, which can be further edited by adjusting its settings.
6. Adjust the Contrast
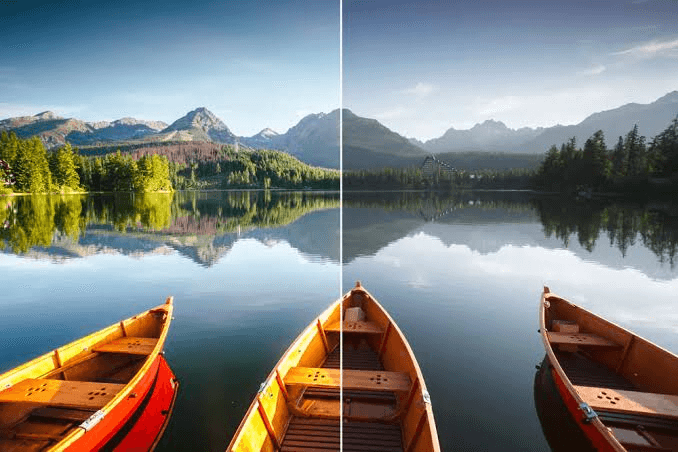
You can change the effect of an image by adjusting its contrast. Increasing contrast can make a photograph look very sharp and dramatic, while decreasing it can give the picture a faded and slow effect. The right contrast highly depends on the mood of the picture, your interpretation of it, and the kind of story you want to tell through the image. There is a contrast slider in the software and app; you can use it to decide which style you like the best.
7. Color Adjustments
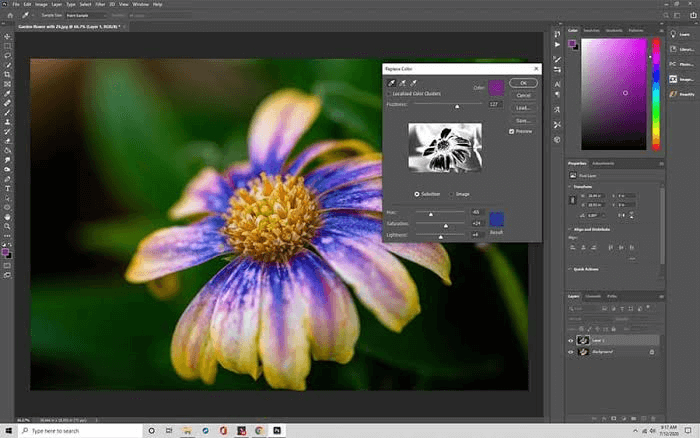
You can adjust the intensity of colors in your image by editing your pictures. It can be done in two ways: by adjusting the saturation and by adjusting the vibrance. Both these settings intensify different colors, and the basic knowledge of color theory can help you judge how you want the colors to appear in that photograph. These adjustments are hardly noticed by anyone looking at the picture, but they leave a great impact on how your image looks and what story it portrays.
8. Saving the Photograph

Editing your high-resolution image won’t drastically affect its quality by how you save it, but it definitely does. We cannot emphasize enough how important it is to save you high-quality images in the highest resolution possible. Do not compress your picture to JPEG while exporting it because it will lose some data and will automatically reduce the quality; try JPEG or PNG instead. No matter if you have clicked the image in the high resolution camera, it will look no good if you do not save it in the right format.
Conclusion
The key is to keep learning and discovering editing tools to improve your craft on the go. Whether you are just starting and trying your hands-on photo editing as a hobby or you want to learn how to edit high-resolution pictures professionally, these are the basic steps to do it.
Photo editing takes tons of practice, interest, and creativity. Follow your taste and intuition to develop your unique editing style and create some stunning images.
Editing quality pictures taken from a high-resolution camera is a very fun and rewarding process to turn your good photo into a great one!
Leave a Reply