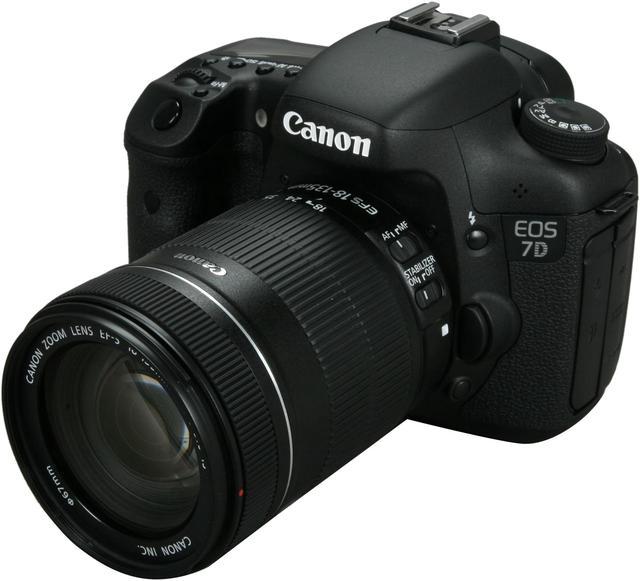
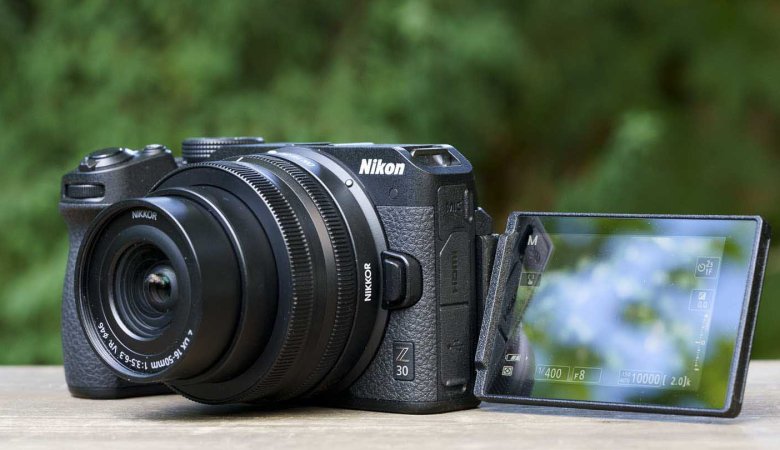
The Canon EOS 60D is a powerful DSLR camera that allows you to unleash your creative side. It is known for producing stunning still shots and also full HD movies. You can use the vari-angle LCD screen it comes with and use your creative chops to create images that make a lasting impact. Technically speaking, it is an 18MP APS-C CMOS sensor camera with a Vari-angle of 7.7cm with a 3:2 ratio.
It has a 9-point cross-type AF system. The censor makes it ideal for creating large-size poster prints without losing details. You can use RAW and JPEG images based on your creative discretion. However, the nightmare for any photographer begins when a dirty lens interferes with a good photographer.
Expensive cameras and high-end lenses require careful cleaning so as to avoid any mishaps.
A Quick Guide on Cleaning Your Canon EOS 60D
1. Figure Out the Dirt
Often, the dirt you assume is ruining your camera is actually just dust on the few finders. Before cleaning your lens, first, identify the source. For this, open up your lens cap and choose a steady, continuous tone on your Canon EOS D60. For example, choose a blue tone and then direct the lens towards the sky or white wall. If you see dirt, it’s most likely a dusty viewfinder. This in no way affects the quality of your camera. Take test shots before cleaning to identify the area.
2. Prepping for Cleaning
Have a clean working area. Especially one where you don’t have too much dust or grime up in the air. It can be a good, clean area with minimal dust invasion. Now dial up the setting to aperture priority and choose a small lens aperture value, such as F18 or more depth and clarity. Then, choose the zoom to 50mm + focal length. Maneuver it to Take the lens cap off, and shift to manual focus as you direct the lens to a white sheet of paper on your working table. Take multiple moving shots around the white paper to ensure only the lens dirt comes on the image.
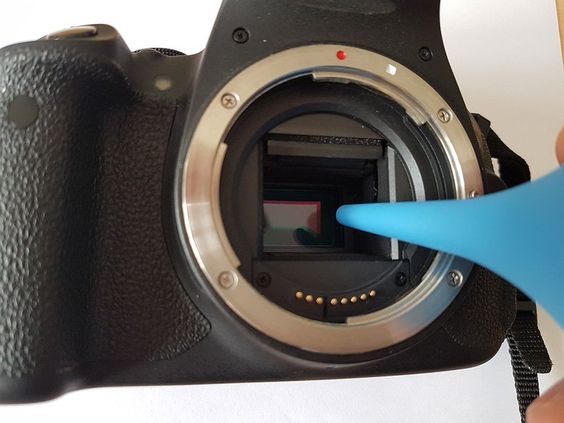
3. Cleaning the Sensor

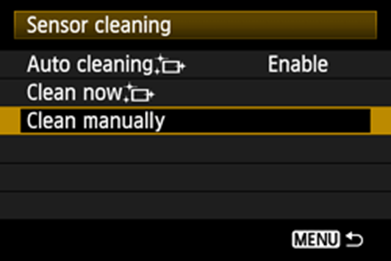
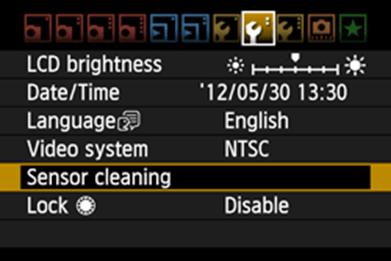
Remove your lens apparatus from the camera, ensure you cap the lens, and store it away. Do not leave an open, unattended camera lens; you are only inviting more dirt. Ensure the battery is fully charged to access the sensor. Now, choose aperture priority mode and turn on your camera. Go to the menu and select the ‘Sensor Cleaning’ option. And choose if you want to clean it manually or Autoclean.
Type 1: Manual Cleaning
Once you choose manual cleaning, When you do this, the mirror will go up; click, And you can clean the sensor. This is why a well-recharged battery is important. Click Ok.
1. Dry Clean Using a Blower

Clean blowers are the first step to cleaning sensors. A well-stored blower with a filter is ideal for the purpose. Having soft tips can be better for your sensor. Now, hold the camera upside down with the sensor facing downwards while the blower faces the sensor. Maintain a distance of 1 cm or so and gently press the blower to remove any loose dust. You can use a loop to check any dust remains.
2. Nylon Brush
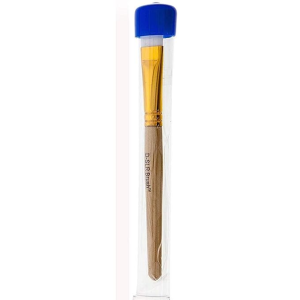
First, charge the nylon brush by blowing the bristles. This will allow any dust to gather on the brush during cleaning quickly. Once done, with a slow movement and gentle hand, move the nylon brush from one end of the sensor to another. Always store brushes and cleaning equipment safely. Once again, check if your camera is more clean.
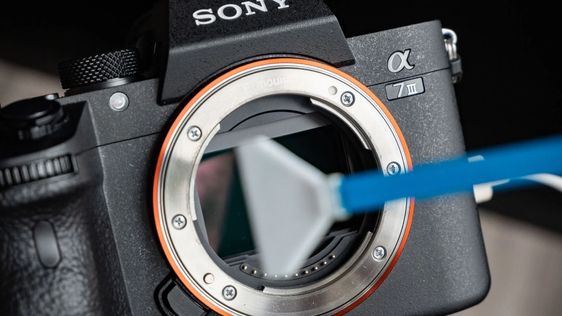
3. Wet Cleaning
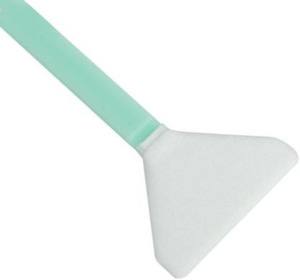
This step is done if you see some camera lubricant, oil specs, or dust particles that may have gotten inside. You can use safe cleaning solutions to clean up your sensor. Usually, the gamma or beta cleaning solution. Have cleaning swabs ready for the purpose. You get good quality swabs that are meant for specific purposes. They are completely locked and safe to use. Turn the camera on, and choose mirror lock-up mode. Put 2-3 drops of cleaning solutions swipe from one end to the other end, and go back again. Put it out, discard the swab.
Once done, turn the camera off. You can put back your lens and take a test shot to ensure the camera sensor is fully clean.
Type 2: Automatic Sensor Cleaning
Once the camera is on, tap on the menu. Go to the settings that have sensor cleaning. Scroll down to sensor cleaning.

Once clicked, choose the ‘clean now’ option to start the automatic cleaning of your sensor.
Click on OK. After which the cleaning begins. During this step, you will hear a shutter sound. However, no picture is taken. Done! Your sensor is clean.
Points to Note: Once cleaned, the automatic cleaning option may not pop up for a bit. Always clean the camera with the sensor facing down to avoid any new dust accumulation.
Conclusion
Getting squeaky clean lenses and sensors for your Canon EOS 60D DSLR camera isn’t a distant dream anymore. Following these simple, easy-to-execute steps can help lengthen the life of your camera for years to come. Regular cleaning ensures your image quality remains up-to-date, seamless, and pristine.
Not just that, it can save up on your post-production time significantly instead of trying to blank out dust specks.
Comment down below to let us know if this article helped you in any possible way.


Leave a Reply