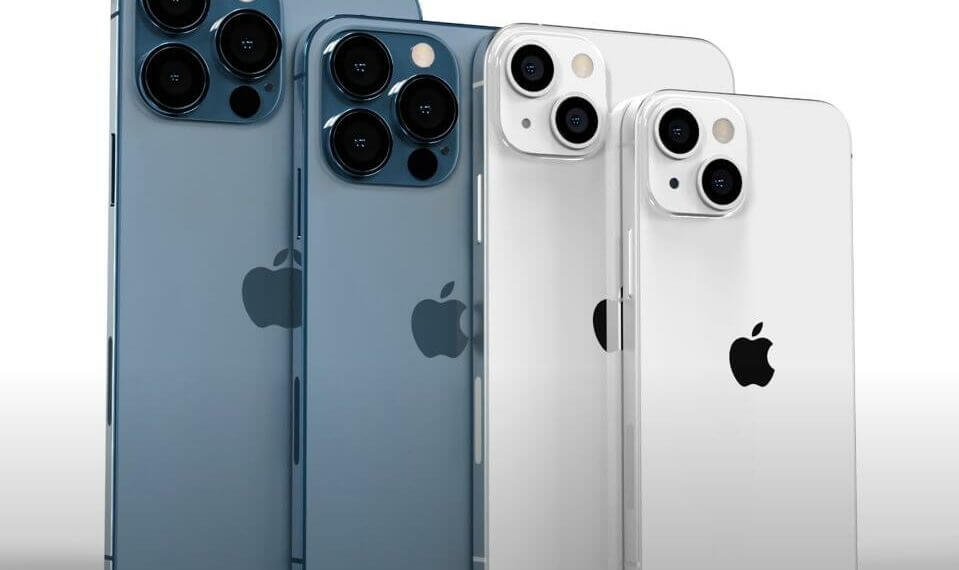
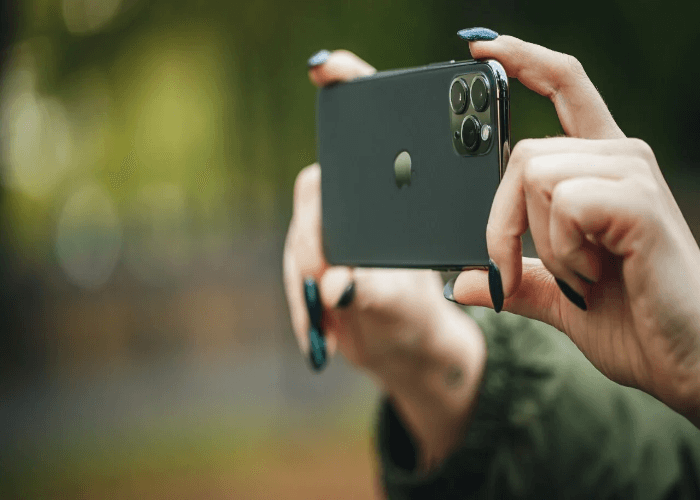
At present, almost 3 billion people use the iPhone. Apple Incorporation created this smartphone and the same organization that developed the iPad and MacBook. Generally, the iPhone is a popular smartphone for its iOS operating system, camera quality, picture resolution, etc.
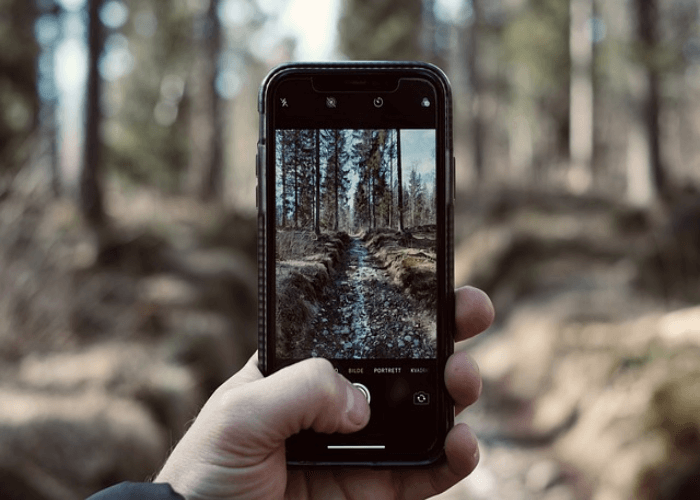
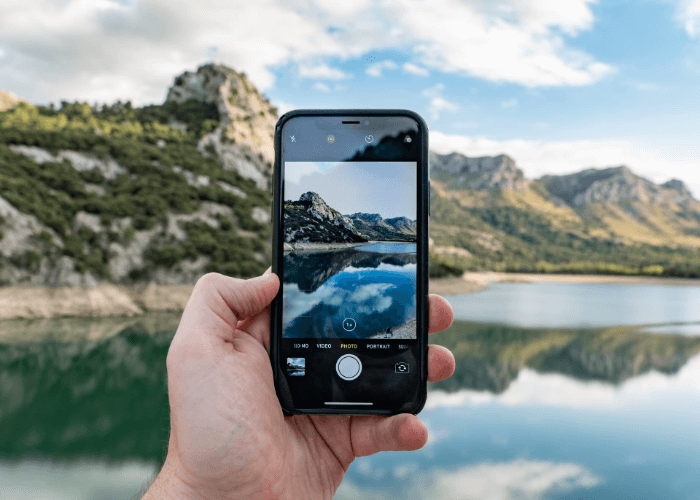
As the technology is evolving, Apple is upgrading the iPhone’s camera features (such as lenses and resolution). Nowadays, you can capture an image with your iPhone like a DSLR. However, several people aren’t aware of its highest-resolution camera settings. As a result, they ended up capturing a broken or blurred image.
In this blog, you’ll learn how to set up the highest resolution of an iPhone’s camera effectively. After that, you can click an image or record a video like a professional.
What is an iPhone?
The iPhone is an advanced smartphone created by the Apple Incorporation in 2007. It has its specific operating system, which is iOS. Currently, more than 3 billion people are using this type of smartphone worldwide. The first model of the iPhone, known as the iPhone’s 1st generation, was introduced in 2007. At present, the iPhone 14 series models are ruling the smartphone market. The storage space of an iPhone is extended up to 1 TB.
However, each of the iPhone models has its specific features, such as screen size, picture resolution, battery, and storage space. The battery capacity of the latest iPhone models is around 3,280 mAh to 4,300 mAh.
Steps to Set the iPhone Camera to the Highest Resolution
1. General Settings

Begin with the general settings to set the highest resolution on your iPhone. Don’t get confused with the majority of the setting options. Adjust your general settings for the camera to capture a delightful image or record an HD video. First, go to the settings and check your iOS version. Then, visit iCloud and click on the ‘Photos’ option.
If you see any update available for your operating system, click on the update. After that, turn the ‘iCloud Photo Library’ on to keep your files safe. Back to the settings option, click on the ‘Camera,’ and then format it. After that, click on ‘High Efficiency’ option.
2. Optimum Quality Settings

After completing the first step, you must adjust the optimum quality settings for your iPhone camera. This feature is also available on your camera app. Adjust your camera screen or size to ensure the highest resolution. After that, follow the steps below:
- Open iPhone Camera.
- Select any format.
- Choose the most adequate format to ensure a high-quality image. For instance, choose JPEG.
For video recording, do the following process:
- Open the iPhone camera app.
- Click on the video.
- Go to formats.
- Select any format (highest resolution) that you find suitable for your video recording—for example, 720p at 30 fps, 1080p at 30 fps, or 1080p at 60 fps.
3. Filter Settings
After finishing the first two steps, you can click pictures with your camera. However, if you are still unsatisfied with the outcome, you can do some additional process. It can help you to ensure a higher resolution for your camera. Follow the below procedures:
- Open the Camera app on your iPhone.
- Tap on the filter options (the filters are in-build).
- Select any one filter and maintain the sharper mode.
- After that, click on the picture.
- The filter will automatically remove the blurriness from that picture and assure you a high-resolution image.
You can return to your original image anytime if you don’t like the image you clicked using the particular filter.
4. Exposure Settings
You can use the exposure settings to brighten up your image. It can help you in clicking a high-resolution image. Turned automatic exposure mode on. After that, it will focus on your subject automatically. If you want, you can adjust it as of your choice. Follow the process below:
- Open the iPhone camera app.
- Focus on the subject of your image.
- A yellow box will appear. Swipe it upwards or downwards to adjust the brightness level.
- Then, click the picture.
Additionally, you can also enable the grid mode with the exposure. First, go to the ‘Settings’ option. Then, click on ‘Camera’ and enable the ‘Grid’ mode.
5. HDR Mode Settings
The term ‘HDR’ stands for ‘High Dynamic Range’. You can utilize the HDR settings to set the highest resolution on your iPhone. It will automatically assist you in adjusting the exposure and filter settings. To enable and use the HDR mode effectively, follow the below steps:
- Go to the Camera app.
- Click on the ‘HDR’ icon.
- Turn the HDR mode on automatically or manually.
- As soon the HDR icon turns yellow, capture the image.
- After that, the HDR mode will be turned off automatically.
Apart from HDR mode, you can also try the portrait mode utilizing the same procedure. It can assist you in clicking a picture like a DSLR.
Conclusion
The iPhones are extremely popular for their camera qualities and features. The brand-new iPhone models have more than three lenses. It lets you capture an image or record a video like a DSLR. Despite this fact, a few people fail to capture adequately high-resolution pictures from their devices. To mitigate this situation, you must adjust the highest resolution settings on the iPhone camera.
At first, adjust to the general settings. Then, make a few adjustments to the optimal and filter settings. Additionally, make changes to the exposure and HDR modes. This blog teaches you how to set up the highest resolutions on an iPhone camera.
If you still have any queries, let us know in the comments.


Leave a Reply