Are you excited about using your Olympus OMD EM5 camera? Well, you should know how to make it work.
This quick guide will walk you through setting up your camera just like the manual says.
But first, let’s get started with the basics. Have you ever wondered how to set up your camera according to the manual?
You’ll find simple steps to follow. There is no confusing tech talk here, just straightforward instructions to make your camera work its magic.
From getting the batteries in place to adjusting the lens, each step will bring you closer to great photography.
So, let’s jump in. We’ll cover everything you need to know, step by step, with the Olympus OMD EM5 manual to make up your mind and proceed to make it yours. Let’s roll!
Understanding Olympus OMD EM5 Camera
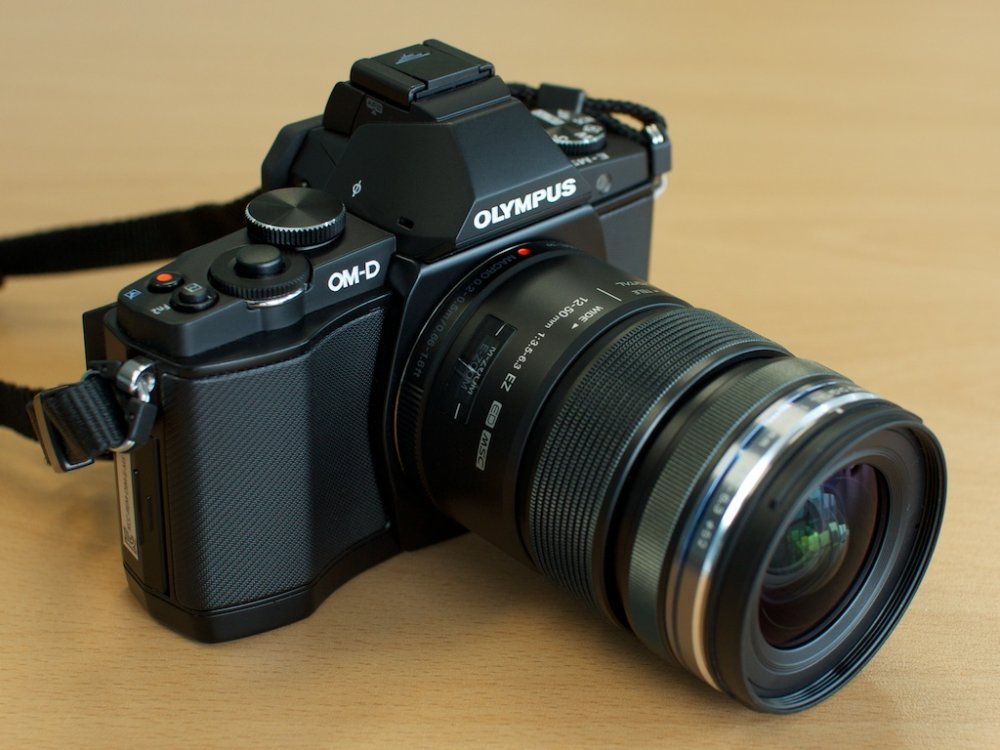
The Olympus OMD EM5 is a super cool camera that’s not too big, and both beginners and experts like it.
It’s good at taking pictures, even when it’s dark outside.
This camera has different ways to take pictures, so you can use it for many things, like pretty views or things that move fast.
It’s also tough and can handle bad weather, so you can use it everywhere.
In simple words, the Olympus OMD EM5 mixes old and new in a cool way.
This makes it a great choice for people who want a small camera that’s also really strong.
It’s good for you if you’re starting to take pictures or if you’re already really good at it.
How to Set Up Olympus OMD EM5
Unboxing and Initial Setup
First, open your camera and its parts carefully. Charge the battery fully before you start.
Look at the manual to see how to put the battery and memory card in the right place. It’s like following a map.
This gets your camera ready so you can take great photos. Remember, the manual helps you.
When you unbox your camera, go slow and be careful. Let the battery charge all the way so it’s ready.
Then, follow the manual to put the battery and memory card in.
It’s like putting puzzle pieces together. Once you do these easy steps, your camera is ready to take pictures.
Language and Date/Time
Start by turning on your camera. Then, the screen will show you what to do.
It’s like a friend giving you directions. Just do what it says to pick your language and put in the right date and time.
Easy, right? It’s like your camera tripod wants to know: What language do you like?
And what’s the correct date and time? Just follow along, and your camera will be all set.
This quick setup helps your camera know what you want, and it’s ready to take awesome pictures.
So, turn it on, follow the steps, and you’re good to go.
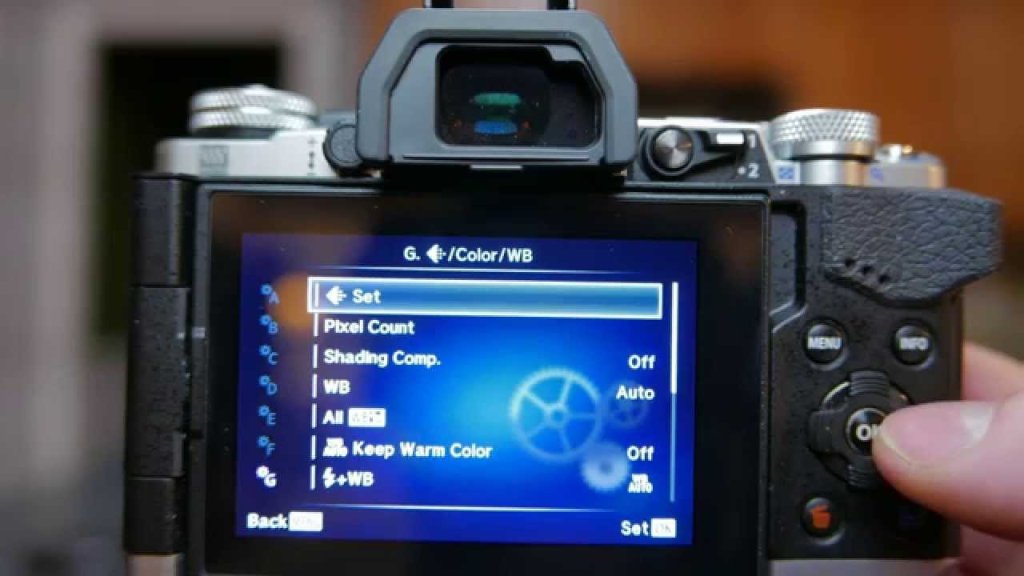
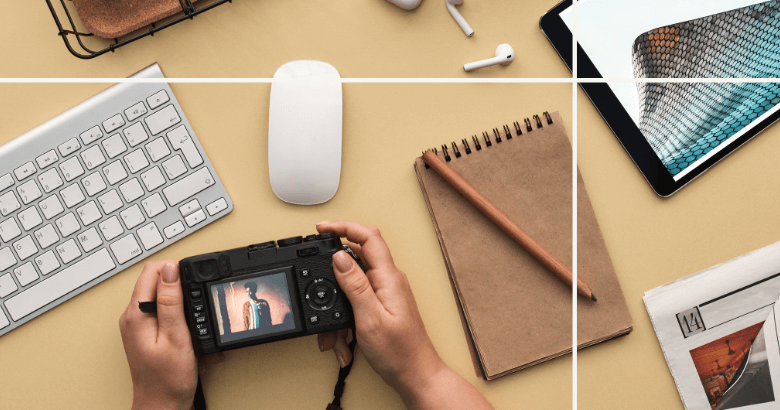
Basic Settings
Making your photos look awesome is simple. Just go to the camera’s menu and change some important settings.
You can make your pictures clear, make sure they’re not too bright or too dull and even control how bright or dark they are.
These settings matter because they decide how good your photos will be.
So, next time you use your camera, remember to go to the menu and have fun trying out these settings to capture the best shots.
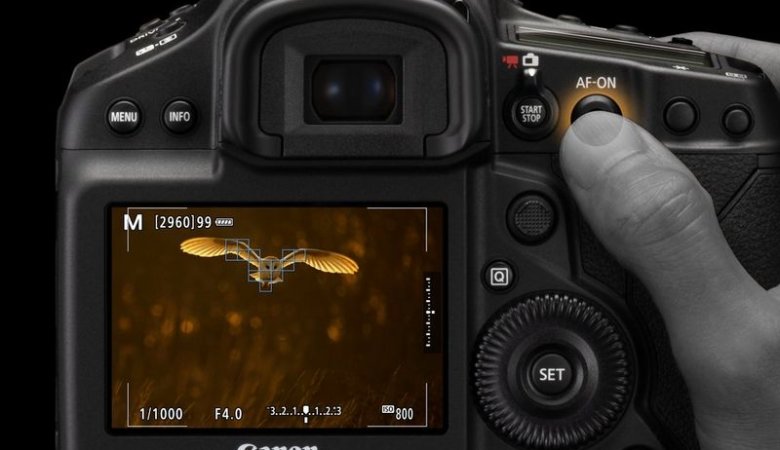
Focusing and Shooting Modes
Learn how your camera centers in different ways: Single AF, Continuous AF, and Manual Focus.
These ways help you take clear pictures. Find out about different shooting modes like Program, Aperture Priority, Shutter Priority, and Manual.
These modes let you decide how your pictures look. The user manual is like your guide.
It shows you when and how to use each mode. It helps you know when to pick Single AF for still things and Continuous AF for moving things.
And if you want to make your photography even better, think about using a Camera Cleaning Kit.
It helps keep your camera gear in great shape so you can keep taking amazing photos without any problems. If you want to be in control, Manual Direct is there.
For shooting modes, the manual helps you know that the Program mode sets things automatically.
Aperture Priority lets you choose how much is blurry. Shutter Priority is for stopping or showing motion. Manual mode gives you power over everything.
Customization
Learn about how your camera concentrates in different ways. See how you can change buttons, dials, and menus to fit how you like to take pictures.
Make your camera work the way you want by setting it up to match how you take photos.
This helps you quickly get to the important stuff you need. Knowing these different ways to settle will make your picture-taking better.
Try out the customization choices to make your camera fit your style. It doesn’t matter if you’re starting or you already know a lot about cameras.
Making the most of these customization options can help you take better pictures. So, find and see how you can make your camera yours.
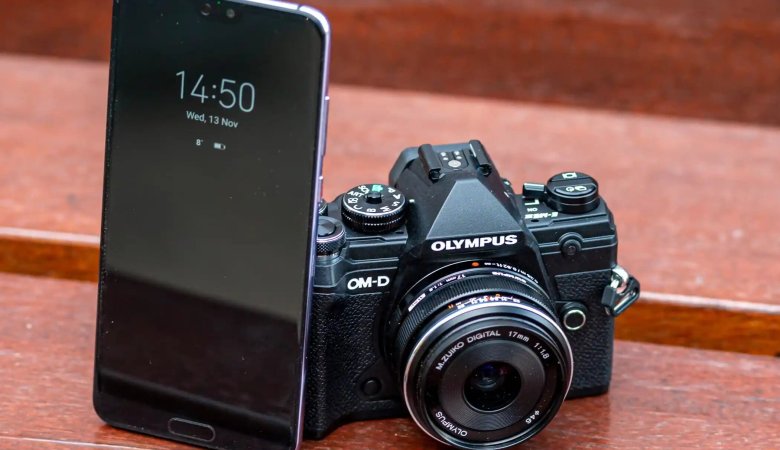
WiFi Setup
If you want your camera to do cool things like taking faraway pictures without touching it and sending photos without any cords, you can connect it to WiFi using a camera bag.
WiFi is like giving your camera special internet. It’s easy to follow the directions they give you.
Then, you can control your camera from far away and share your pictures with other devices. It’s kind of like magic, but it’s all because of technology.
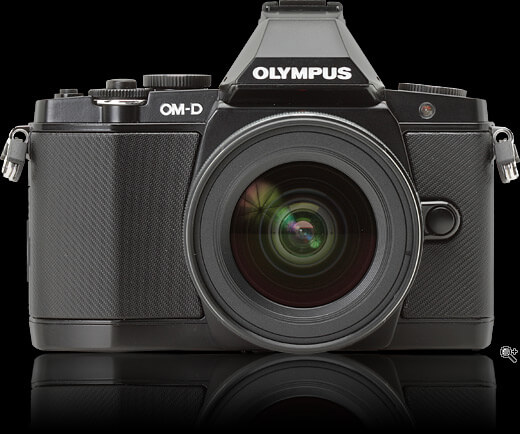
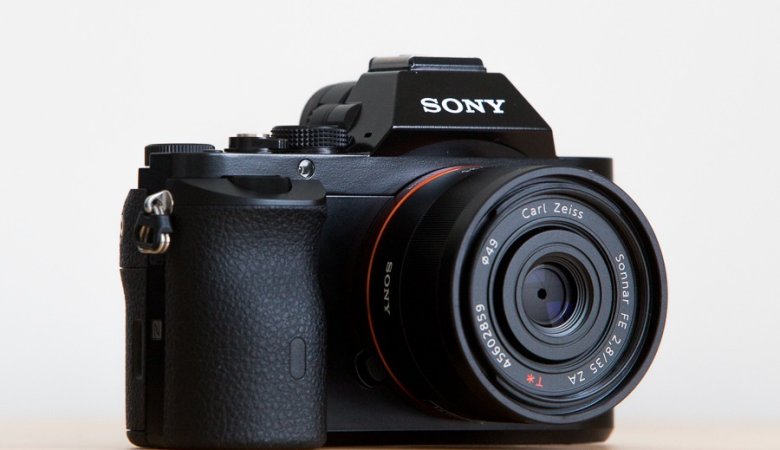
Lens Attachment
Suppose your camera can use different lenses, no problem.
The manual is like a friendly guide showing you exactly how to put on and remove these lenses.
Just follow simple steps. This way, you’ll be good at switching lenses without any trouble.
So, the manual has your back whether you want to zoom in super close or capture a wide view.
You’ll quickly see that changing lenses is easy, just like snapping together building blocks.
Accessories and Maintenance
Find things that can go with your camera, like extra flashes for brighter pictures and microphone adapters for better sound.
The manual will also teach you how to take care of your camera so it stays in good shape and lasts a long time.
You’ll get tips on cleaning it and keeping it safe from dust and bumps.
Whether you’re new to cameras or already know a bit, these tips can help you use your camera and its extras the best way possible.
Conclusion
Well done, you’ve completed all the steps to set up your Olympus OMD EM5, just like the manual guide.
You’ve learned how to piece together all the parts and buttons. Remember, each button has a special job.
You also found out how to make the screen show what you want to see. Plus, the memory card gives a home to all your photos.
Think of this setup as the start of a story. Your camera is the hero, and you’re the author.
Together, you’ll create amazing tales with each click. So, there you go.
Your Olympus OMD EM5 is ready to roll. Remember these simple steps whenever you’re out on a photo adventure.
Happy clicking!
Leave a Reply