Do you want to explore a series of steps on how to convert a normal trail camera into a cellular one? Well, you have a series of steps and guidelines on how you can do so.
Converting a normal trail camera into a cellular one has a strategic range of benefits. The main benefit of using a cellular-based one is you can operate the camera anywhere, irrespective of whether the region has proper Wi-Fi connectivity or not.
Let us discover the series of steps on how you can convert a normal trail camera into a cellular one and varied other aspects about the same:
1. Setting a Link-Up Between the Device and Your Mobile
For a traditional non-cellular trailing camera, you may have to establish a cellular connection or a network personally. This is the first and foremost thing on how you get started. Now, connect the device to a cellular trail camera T-mobile adapter. This is a separate device you get from an electronic showroom or even from an online marketplace.
The cellular trail adapter is now fixed to the generic model of the trailing camera that you already have. You can connect it to the same slot as that of an SD card holder for your trail camera. This way, you can connect the device to Blue Tooth or any other form of wireless technology to take wildlife photoshoots or cover video recordings of exotic wild animals that are at play.
2. Removing the SD Card from The Cellular Adapter
The next step is to remove the SD card from the t-link or what you call the cellular adaptor. Only then will you be able to connect the device’s cord to the trail camera.
Through the SD slot of the cord, the set-up is neatly done to the trail camera that is intended for use. As a first-timer, you can have a look at instruction guidelines or the manual to how it is being done. Otherwise, you can ask a reputed photographer how to get it done.
3. Replug that SD Card into Your Trail Camera
This is the third important step involved in your attempt at converting a non-cellular trailing camera into a cellular one. Here, you insert the very same SD card into the SD slot reader of your trailing camera.
Having a look at your instruction manual thoroughly will help you in getting things streamlined. This is the SD reader that is going to capture all of your audio or video recordings. The photoshoots will also be stored on the SD card reader.
4. Setting up The Trail Camera with Your SD Card
After having plugged the SD card into the trailing cam, shut the door of the camera at once. This particular spot might have a rubber seal, after all. The rubber cable has to be taken out before you shut the door of the camera.
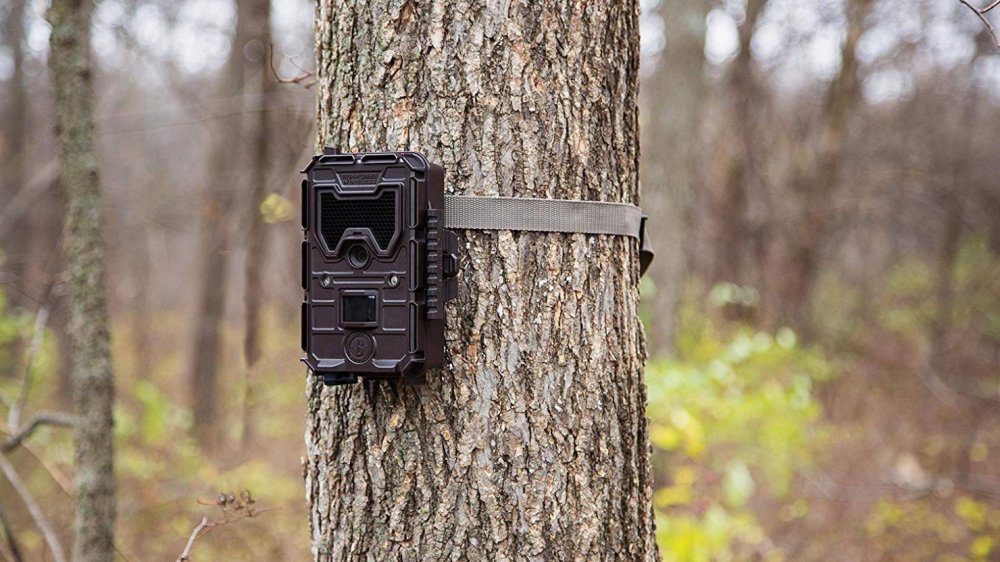
Then comes the most important step. You may have to locate a safe and secure spot to install your trail camera. Here, you look for a tall tree or a stationary wildlife spot wherein it is easier to install your trail cam.
5. Making Sure Everything is Intact
The last and final step here is making sure the connections are made precisely between the t-cellular adaptor cord and the trailing camera. You can cross-check if the slots have been closed tightly.
Now is party time, wherein you can do a proper wildlife photo shoot of exotic wild animals that are at play. You can even have wildlife recordings of a lion or a cheetah that is roaring. Or that of an elephant that is trumpeting.
Birds and their voices can also be video recorded to add to your travel diaries.
Why Convert Traditional Cameras into Cellular Cameras?
Well, if you have a look at it, there are several reasons that you can think of to convert traditionally disposed trailing cameras into cellular cameras. Helping you understand each one of them:
1. Understanding the Technology Becomes Easier
In the case of a traditional trail camera, you must have a great level of technical expertise. You must manually know how to insert and chip out the SD card in and out of the camera. You must learn to use the motion detector sensors that are different for the day and the night. You get 30 megapixels worth of video recordings that can capture media files with an HDR resolution of 1080 while the sounds are captured, too.
On the other hand, while you use a cellular-based trailing camera, even a novice photographer can get portraits or video recordings done without much of a hassle. They work wireless, and the photos and video recordings are simultaneously transferred to your smart or mobile phone while the camera does its job.
2. Network Coverage
In the case of a traditional cam, you need Wi-Fi connectivity or a network that supports Wi-Fi to capture videos or take photographs. In the case of a cellular trail cam, you can go wireless and work using Bluetooth, Hot Star, or any other wireless form of technology. That means you can continue video shooting or take photos even while you are in a deep forested area or a vacation spot with no internet coverage.
3. Easy Shareability
Concerning a manually operated trailing cam, you need to wait for photos and videos to get captured and developed on a film. Later, you may have to connect the SD or the data card reader to your laptop or computer to look at them or save them into your folders. In the case of a cellular model, the pics and video recordings are simultaneously saved on your mobile or smartphone. This means you can share them on your Facebook, Instagram, or any other social media handle so that your friends or family can watch your activity.
Points to Remember
We have seen several ways and means, by which you convert a traditional trailing camera, to a cellular one. People convert their traditionally disposed cameras into ones that have cellular capabilities and this is done from a convenience point of view. You can work on a cellular model even if the region doesn’t have Wi-Fi. Say, for instance, you do not have Wi-Fi in an area, you can continue operating your cameras even by using Bluetooth or other forms of wireless technologies.
Similarly, when you use manual cameras, you may have to load the SD card into your laptop or other Wi-Fi-enabled devices to extract the pictures that you had taken from your equipment. Whereas, when you use a cellular-based trailing camera, the exotic pictures you take at the wild or other delightful tourist destinations, are captured in the form of photoshoots and video recordings and you see them on your smartphone or mobile phone too. Therefore, you can share your pictures or vacation-based video recordings with your friends on Facebook or Instagram while the camera captures the photos or videos.
Which is the most user-friendly benefit you can think of while you try converting your regular trail cam into a cellular-based one? Do let us know!
Leave a Reply