Applying presets to a bunch of pictures in Lightroom is a great way to give them a consistent and cool look quickly.
Let’s see how it’s done! Imagine you have a lot of photos, and you want them all to look stylish and similar.
Using Lightroom presets is like using a magic button that instantly changes your photos’ appearance.
It’s like adding filters, but even better. Using presets in Lightroom is like dressing up your photos in seconds.
So, have fun trying different styles and making your pictures look amazing!
What are Preset in Lightroom?
Lightroom presets are ready-to-use settings made by photographers to quickly make your pictures look better.
These settings change things like brightness, colors, and contrast.
Picture presets are filters that can easily turn your regular photo into something amazing when you click on them.
How to Apply Preset to a Batch of Photos During Import
Applying presets to multiple images in Lightroom involves a series of steps, the essentials of which are listed in the section below.
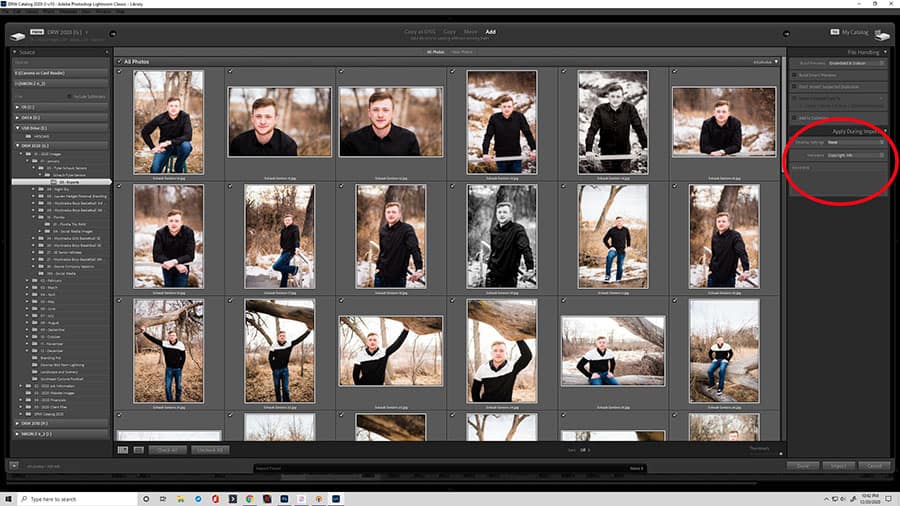
Step 1: Bringing in Your Pictures
For proper photos, a lighting kit can help improve the quality of your photos, making them look even better when edited with presets.
Then click on Import. It’s a big button that you can easily see. This will let you choose the photos you want to edit together.
While you do this, think about putting these pictures into a new folder you make in Lightroom or a folder already there.
This helps make your editing smoother and lets you find your pictures later.
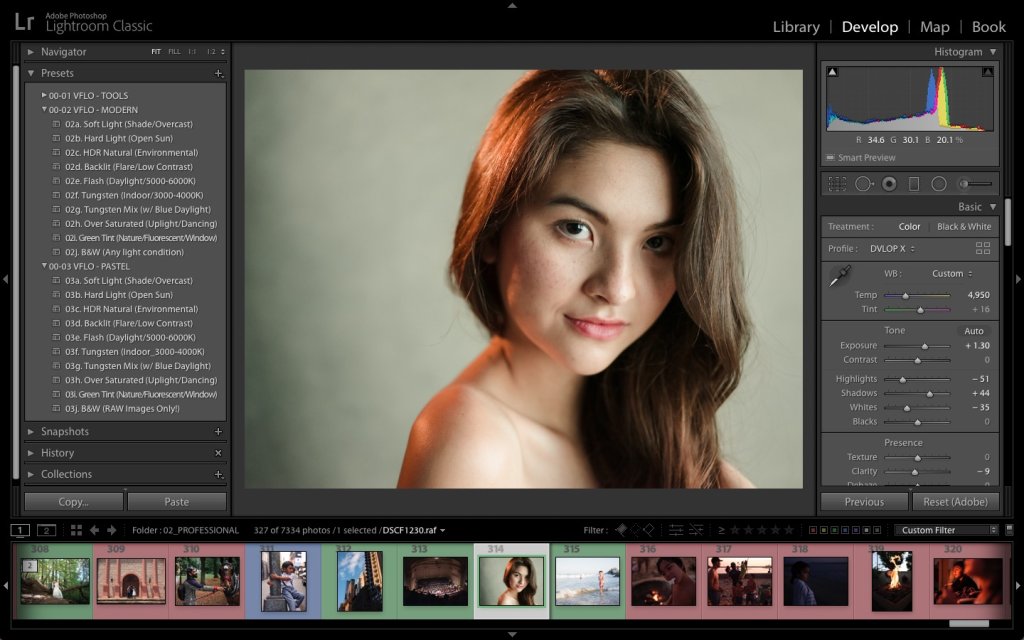
Step 2: Pick a Style to Edit Lots of Photos
When you go to the Develop part of Lightroom, you can do all sorts of creative things to your pictures.
For more accurate editing, a graphics tablet can be incredibly helpful for adjusting the perfect look.
You can look through different preset options to find a style you like.
Take your time scrolling through them because each gives your photos a different feeling.
You can choose a classic look, a modern vibe, or something unique, and there are many choices.
Step 3: Use the Style on Your Pictures
When your photos are lined up at the bottom of the screen, click on the preset you like.
This is a cool part of editing many pictures at once in Lightroom.
The preset’s settings will change all the selected pictures right away.
It saves you a lot of time and makes all your pictures look consistent with the same style.
Step 4: Make Detailed Edits
Presets are a great starting point, but there’s more to do. In the Basic section, you’ll find sliders.
These sliders let you fine-tune your pictures in different ways.
You can make a picture brighter or darker, adjust the contrast to add drama, or make colors stand out more.
You’re free to make your pictures look just the way you want.
Step 5: Editing Specific Parts
Not all pictures need the same changes. Sometimes, only a few pictures need something special.
Lightroom helps here. Hold down the Ctrl key in Windows or the Cmd key in Mac and click on the pictures that need extra work.
You can make changes only to those pictures. When you’re done, the Sync button is your friend.
Click it, and your special edits will be copied to the chosen pictures, making everything look consistent.
Step 6: Fixing Mistakes or Changes
Making mistakes or changing your mind is okay. Lightroom can help with that.
On the left side, there’s a History section. You can return to how your picture looked before using a preset.
Use an external hard drive to store your work safely, letting you try different things without worrying about ruining your pictures.
How to Use Presets for Batch of Images in Lightroom Library
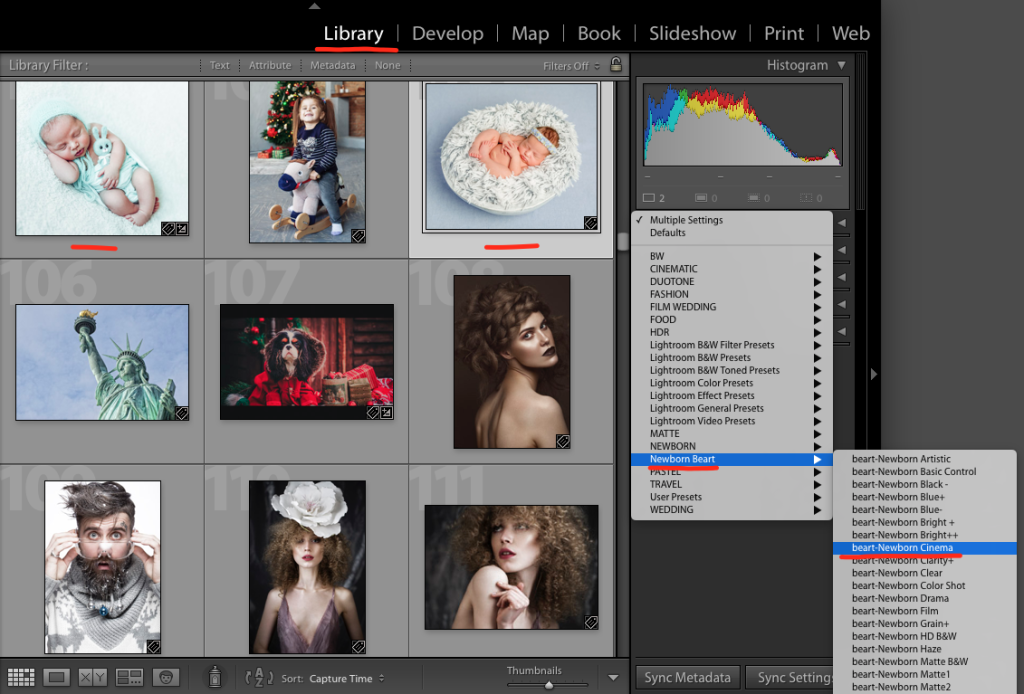
Step 1: Add Your Images to the Library
Open Lightroom and go to the Library section. This is where you organize your photos.
Click Import and choose the images you want to work with. Hold down Ctrl while clicking to select a batch of photos. Click Import to bring them into the Library.
Step 2: Select All Images
In the Library Module, you’ll see your imported images. To choose all of them, press Ctrl + A (Command + A on Mac). This highlights all photos for the preset.
Step 3: Apply a Preset from Quick Develop
You’ll find the Quick Develop panel on the right side of the Library Module.
This is where the magic happens. Scroll down to Saved Preset and click the preset you want.
It will apply the preset’s look to all your selected images. Voila! Your photos now have that stylish preset style.
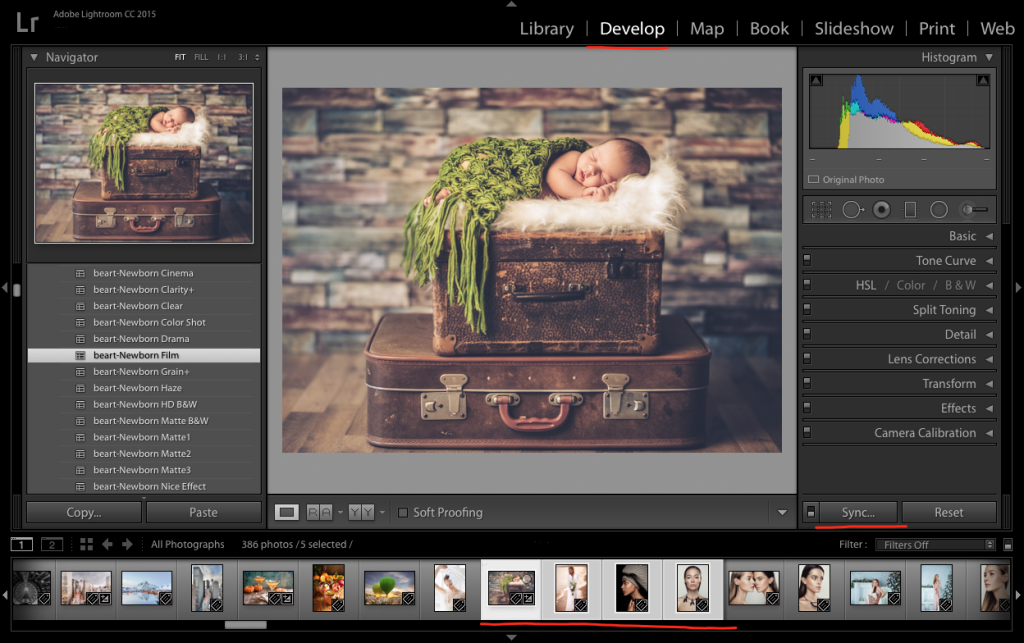
In Development Mode, Apply Preset to a Batch of Photos
Using Lightroom’s preset feature while you’re working on your photos can save you time and make things easier. Let’s see how you can easily use a preset for a group of photos:
First, choose the preset you like. Presets are ready-made settings that give your photos a certain look. Presets can do it whether you want an old-fashioned style, strong contrasts, or colors.
Now, select all the photos you want to use the preset on. Click on each photo while holding down Ctrl (Windows) or Command (Mac) to choose many at once. This makes sure all your selected photos will have the same style.
Go to the Develop part of Lightroom and find the Sync button. Click it, and a box will pop up. Check ‘Synchronize Settings’ and click Synchronize. This tells Lightroom you want the preset and its settings on all the chosen pictures.
After syncing, your preset will be on all your chosen photos. That means the special changes and improvements in the preset will make all your photos look great together. Once you’ve edited your photos with presets, use a photo printing machine to turn your digital creations into physical prints.
Conclusion
Applying presets to a group of photos in Lightroom is a fantastic way to improve your images quickly and consistently.
You can give your photos a unified and polished look with just a few simple steps.
By selecting a preset, you’re telling Lightroom to apply those adjustments to all your chosen photos.
With this straightforward process, you can easily give your photos a professional touch and save a lot of time in the editing process.
Charlotte Martinez, a graduate of the London Film School, has been an integral part of our editorial team since 2020. Her expertise, honed over 20 years time, lies in film editing and post-production. Charlotte's career began in television, working on several high-profile series before transitioning to digital platforms. A passionate educator, she also conducts workshops on advanced editing techniques and enjoys documentary filmmaking as a hobby.


Leave a Reply