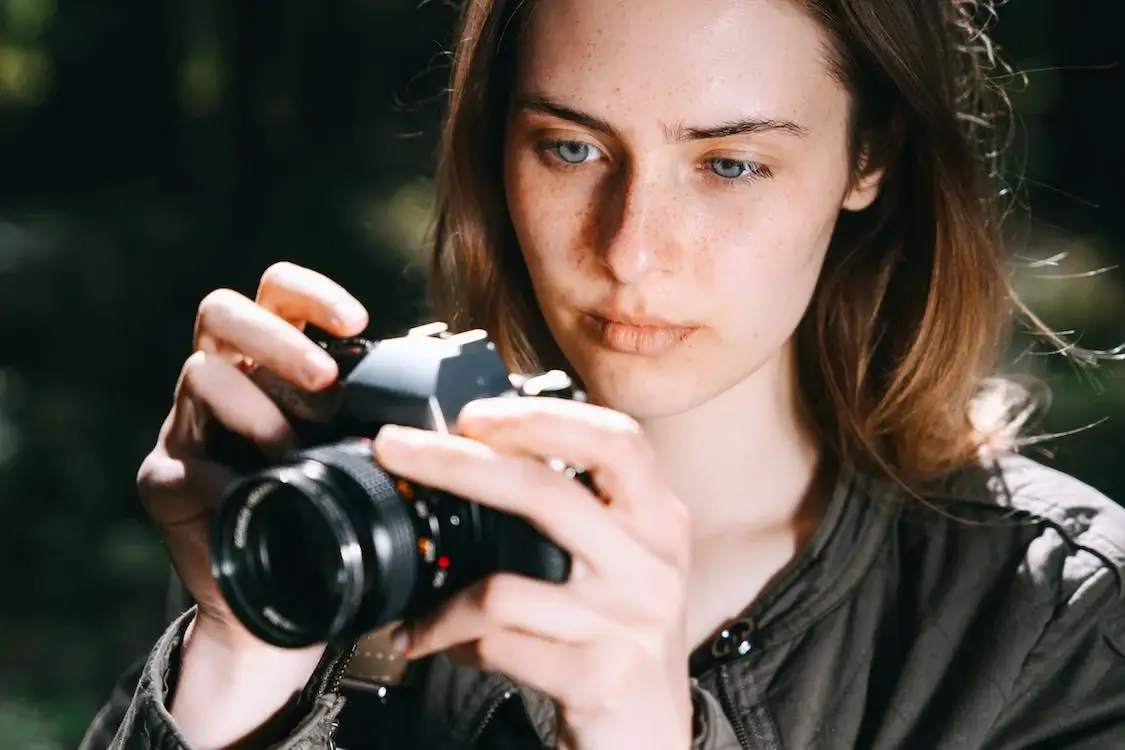
If you are learning panning photography, you are already tapping on a difficult job. You struggle to find the right combination and settings for perfect panning. Capturing moments with the panning technique can do anything: but they can be worth trying. If you are initially thinking of learning the perfect panning techniques, the worst you can do is add negative effects to the images and feel disappointed with the results.
So, how can you do panning photography properly? Panning is a great technique to make action pictures live with emotions or completely change their motion and views. If you want to know more about panning and how to do panning properly, keep reading.
In this blog post, we have covered how to do panning properly, with the best camera setting, and additional tips and tricks to bring the best out of your panning photography shots.
What is Panning in Photography?
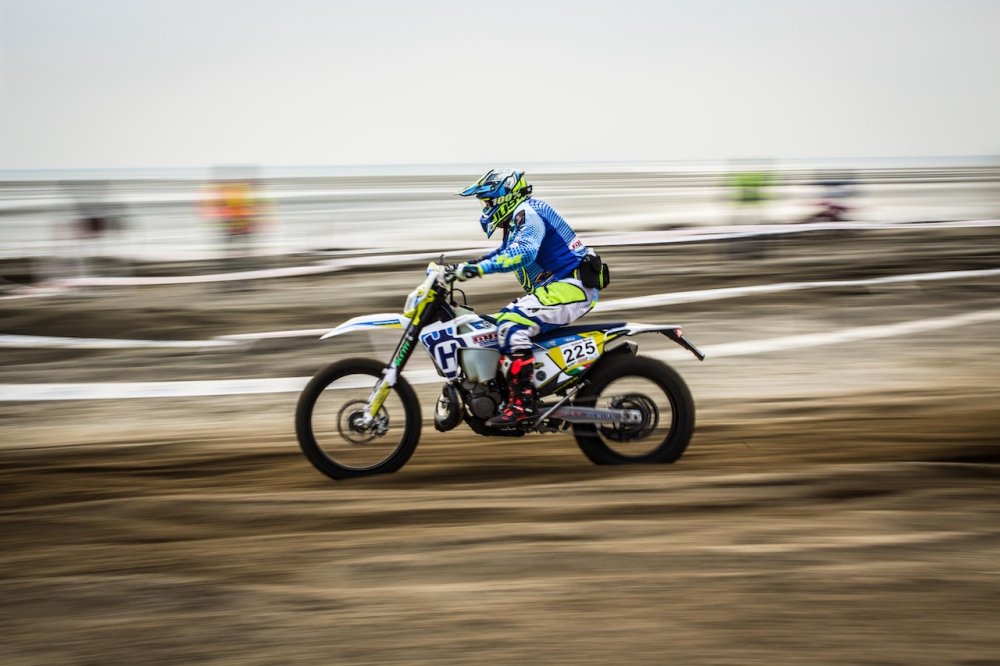
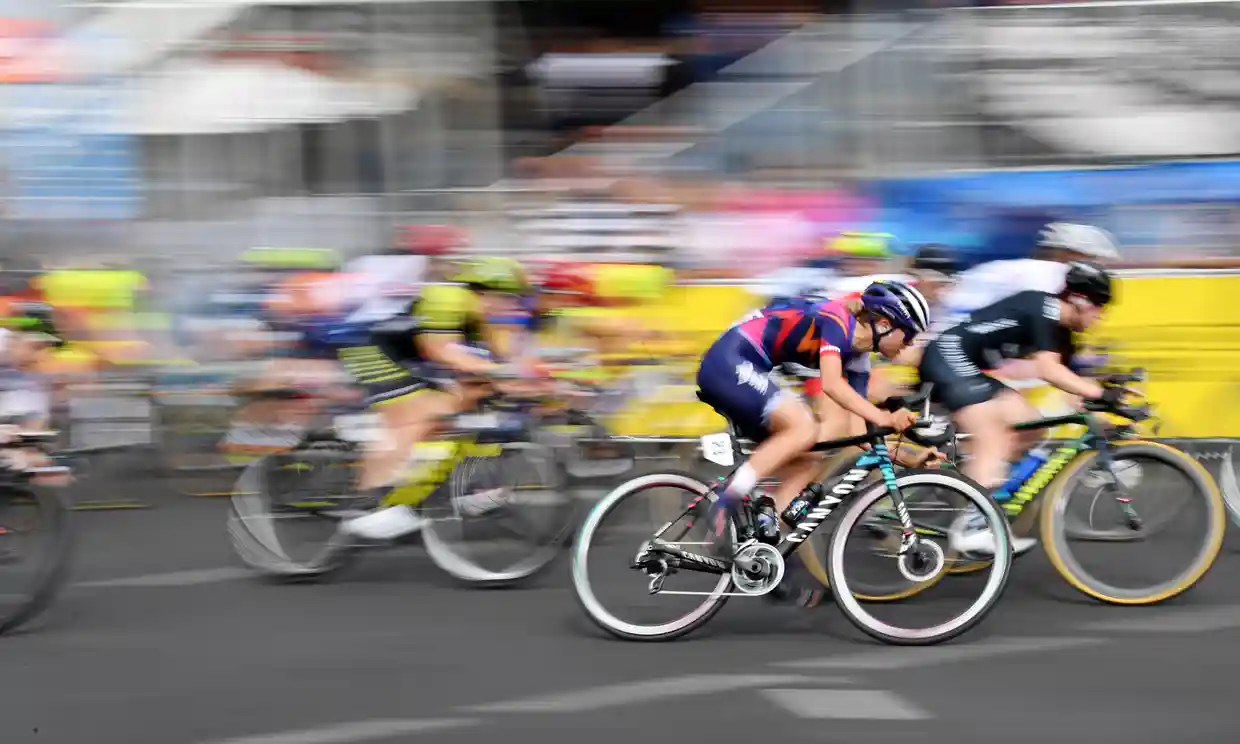
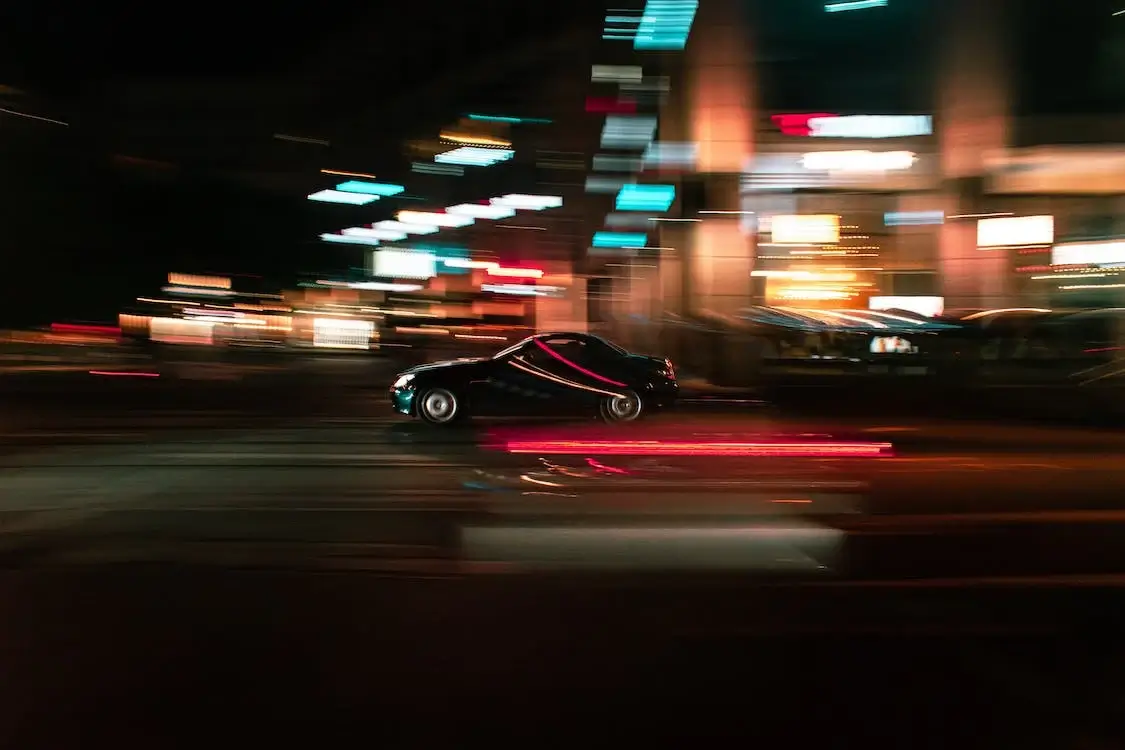
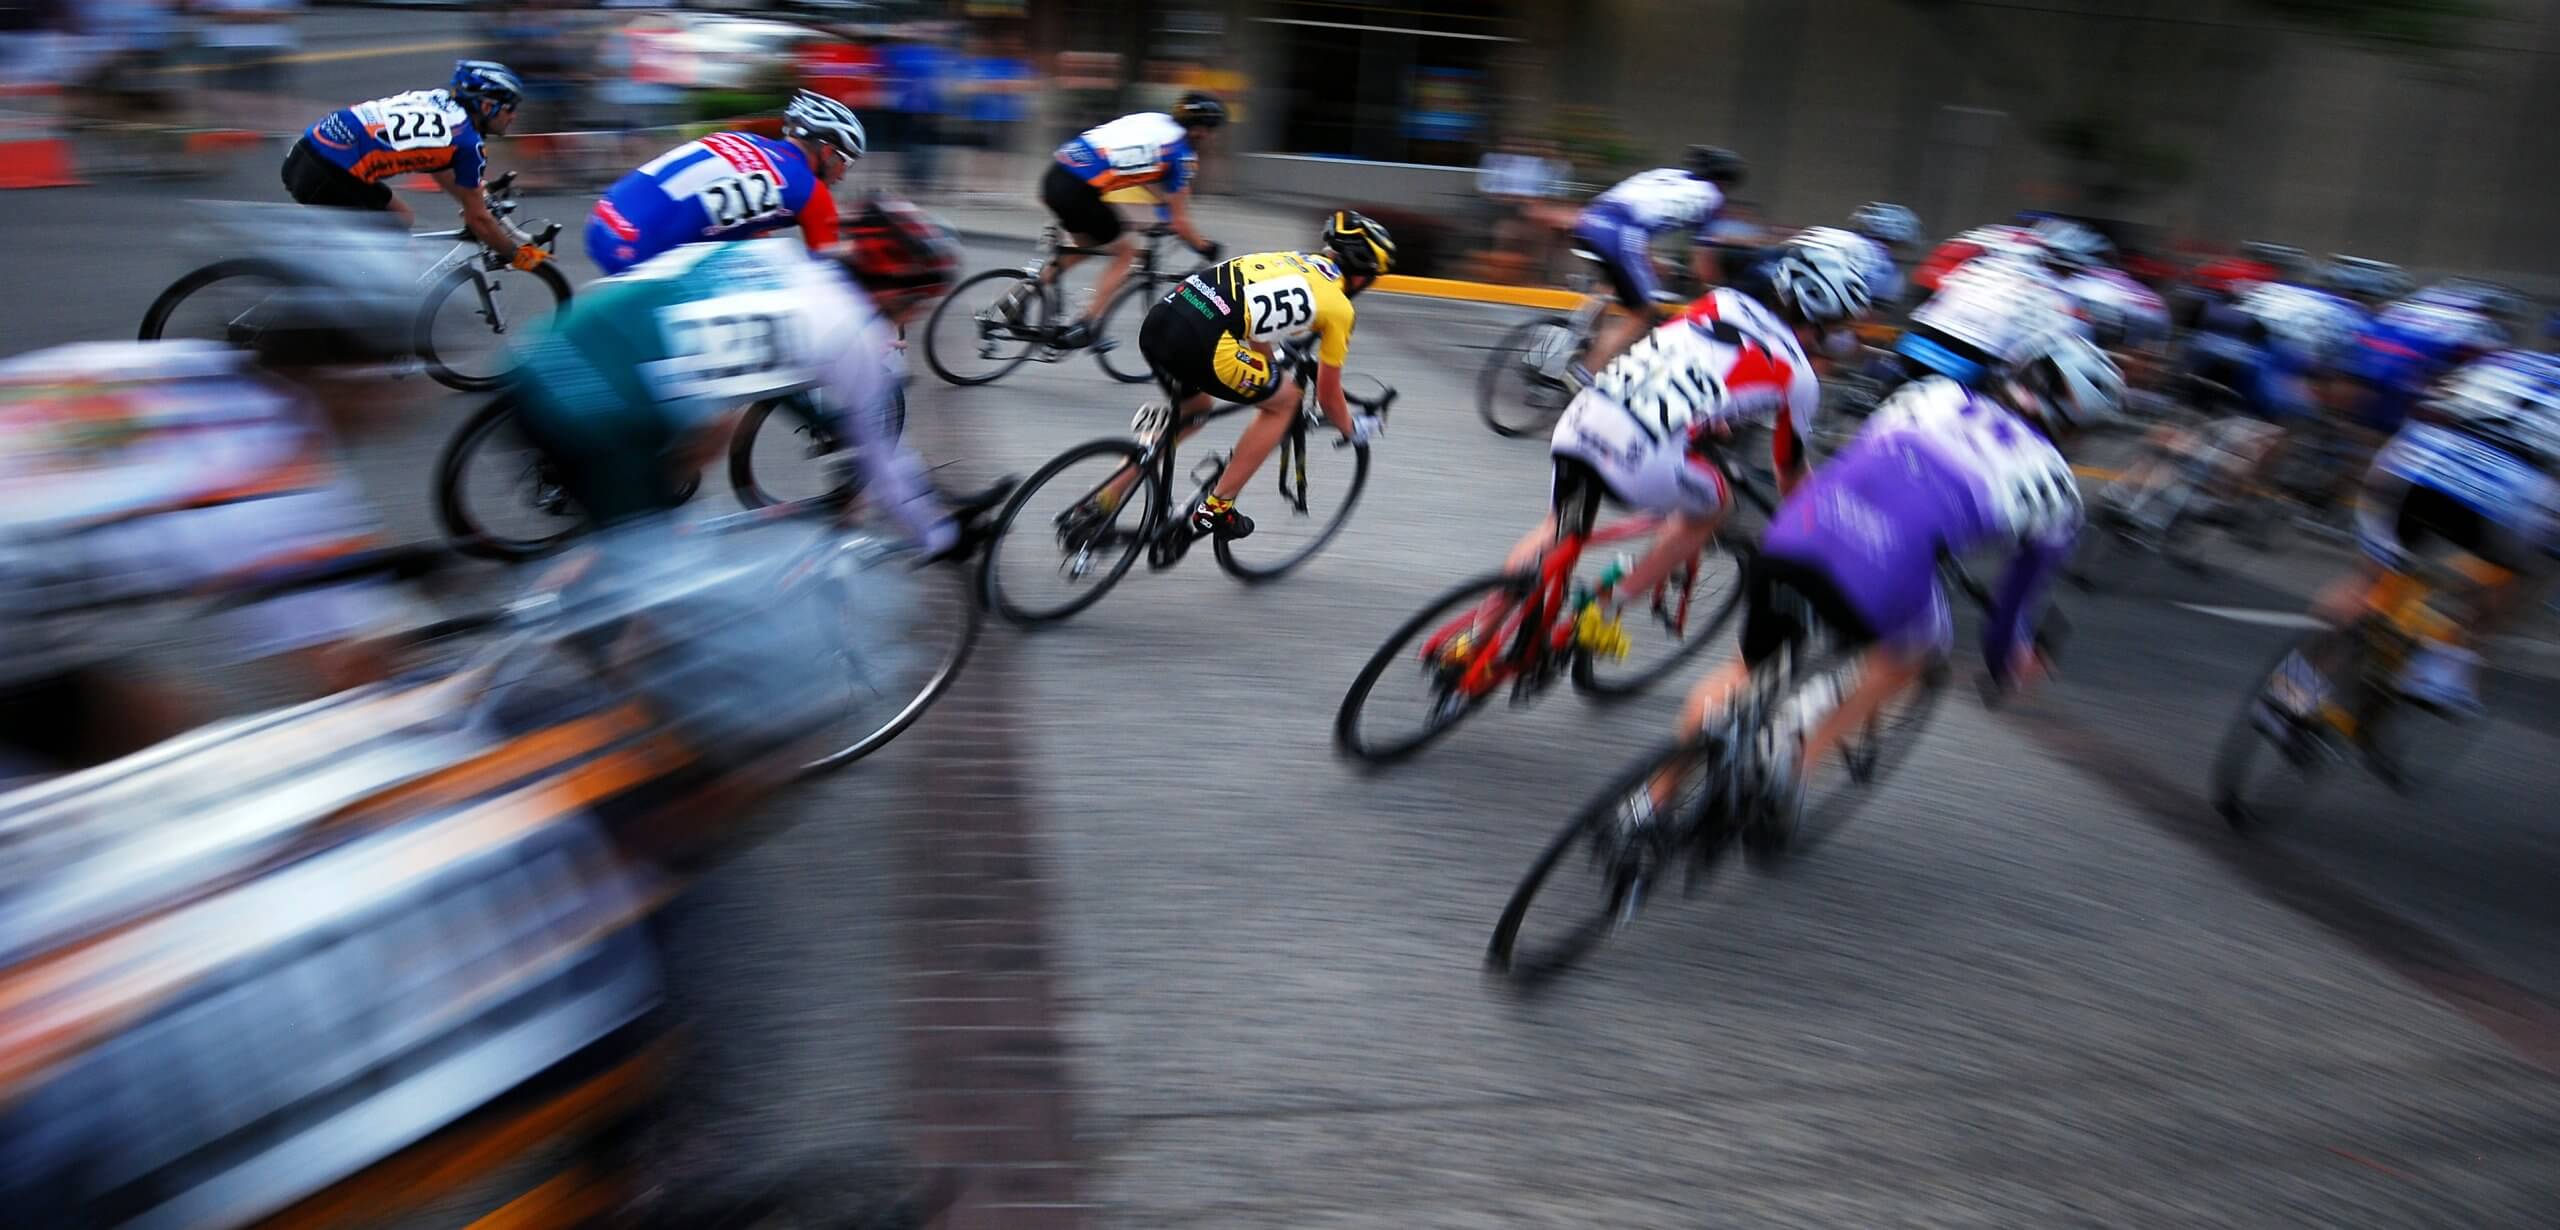
Panning is a creative and important technique of photography and videography used to change subjects’ motions. For example, capturing slow objects with motion or giving the freezing touch to high-speed subjects is the art of panning. The panning technique adds a real sense of motion and motion blur to change their speed. Panning can bring out striking results in your photography skills. Panning adds great curiosity and excitement to the images, making them more striking.
Best Settings for Panning Photography
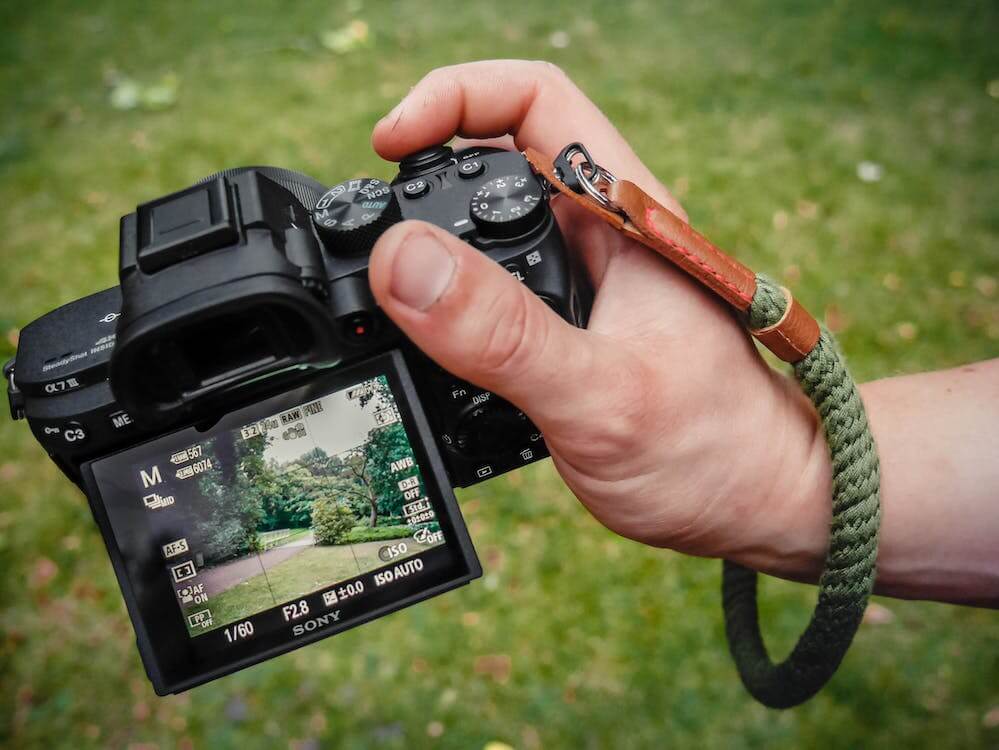
1. Use Camera Burst Mode
If you are learning panning as a beginner, then camera burst mode is a good setting for the best shot. This mode will help you to capture continuous frames of the scenes automatically.
Try this mode for initial learning to get the best results.
2. Focal length
It includes the framing of the subject you will shoot. So that you can adjust the focal length and go smoothly with the moving subject, prepare the frame for the subject capturing so that your autofocus area will be ready.
If you are a beginner, start with the wider focal length, as they will help you to capture the best, even when the camera shakes while capturing the movements. It is easy to shoot with the wide focal length, and you can always narrow it down as you move towards mastering the panning photography technique.
3. Autofocus Mode

To capture the quickly moving subject and object and match the speed with a continuous camera shot, adjust the focus mode and set it to Continuous Autofocus Mode. This mode is easier to capture in autofocus mode rather than manual, especially for beginners.
Try the manual focus only when you can capture the best shots in it, or you have mastered photography skills like a pro.
4. Autofocus Area
To lock the continuous focus mode on a particular space, you must figure out the autofocus area, which can help capture the subject and pan the scene. The Autofocus area will help you capture sharp and focused subject images instead of focusing on a broad background.
5. Shutter Priority Mode
Don’t try to add in-depth details, as when you do panning photography, the background will get blurred, and depth details are not useful at that moment. So, to adjust the aperture automatically, press the S button on your camera dial to bring it into the shutter priority mode.
Use the aperture depth like f8 – f11 or more with this mode. You will be able to get the depth details of the subject along with the subject.
6. Shutter Speed Accuracy
Keep the shutter speed slower for maximum panning results and motion blur. And experimenting with different shutter speeds is the key to a good panning technique. Though the speed must be adjusted according to the relative speed of the subject, the type of your camera lens, and the blur effect. And the speed accuracy should be, at least, reciprocal of your camera focal length to capture the subject in focus.
7. ISO For Panning Photography
Set the auto ISO mode. If you capture panning photography at night, when so many lights add exposure, you can set it apart from the auto ISO mode with experiments. Adjust the camera exposure and shutter speed according to the distance between the subject and you and the effects of the lights.
8. Burst Fire Rate
To capture the maximum frames per second, you have to increase the burst rate of your camera to the faster side. The fastest burst fire rate allows you to capture the maximum out of your panning photography shots.
9. Disable Image Stabilization
Disabling the image stabilizer is important until and unless your camera lens has a Mode 2 IS as an option. This will make your panning photography more natural; otherwise, the internal stabilization will try to balance the photo and ruin the photo’s output.
Tips and Tricks for Perfect Panning Photography
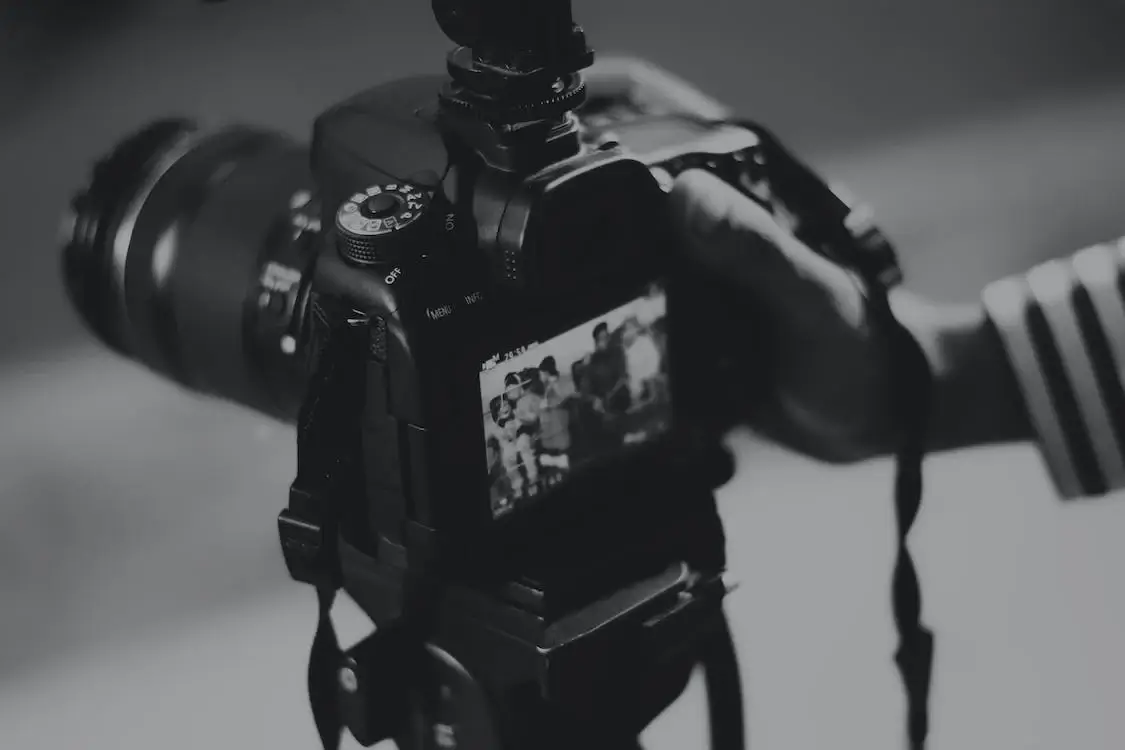
1. Use Tripod or Monopod
Bring the camera on the same level as the subject for betterment. Take a tripod with you while capturing the moment for panning in focus. Or you can also utilize the camera strap around your neck for support. This additional support will help you to capture the moment with good focus and accuracy. Ensure that your camera is in the continuous burst mode as described above.
2. Choose the Right Stance
You will need comfortable and supportive surroundings to capture the subject in focus, so finding the right position and stance is important. You can capture by standing or bending your body slightly to match the level of the subject.
If you are a beginner, ensure that you don’t end up locking your keenness or feet, else it’ll mess up things, and there will be chances of physical injury.
3. Choose the Subject
You can do panning photography with both moving and static subjects. But the popular panning effect is used with the action and moving scenes. Selecting the subject and tracking with your eyes through the camera lens is an important part of photography but also supports the panning technique.
If the subject’s speed is faster, like a racing car, tracking the subject continuously can be difficult and strain the eyes. Use the zoom effect and track it with your torso to make it easier, and move your head and eyes along with the subject to track the subject’s motion.
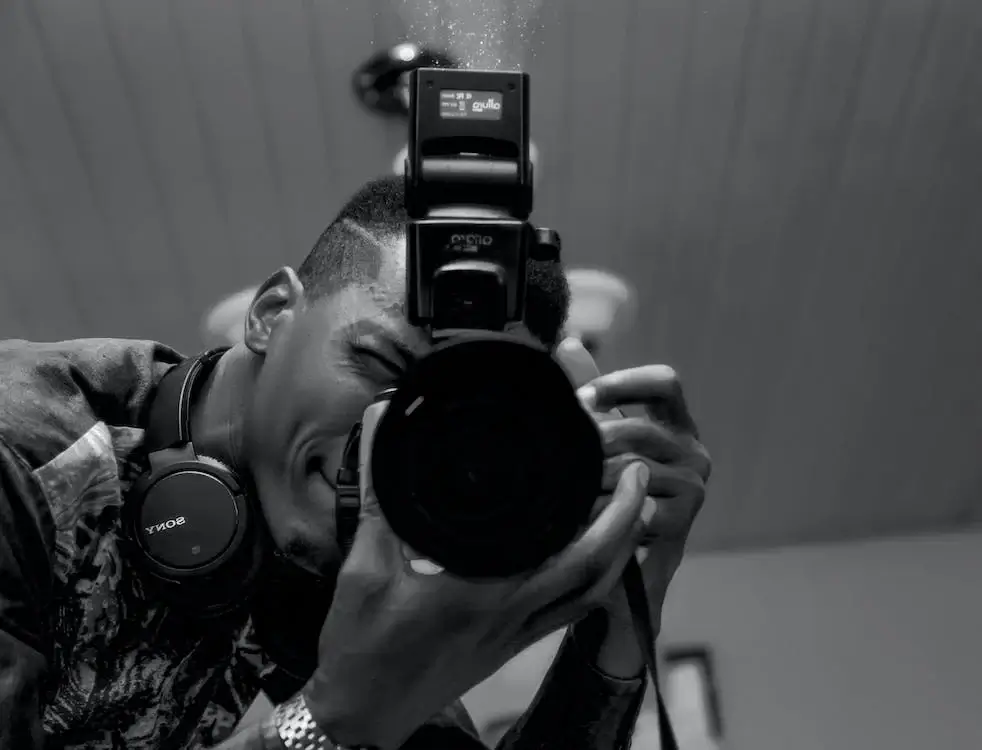
4. Choose the Camera Flash

Using the right exposure method, like the camera flash, is good for creating a supportive lighting environment for photography. For beginners, using flash is a great way to do panning in the recordings and freeze the motion. It will help you to capture the panning pictures by avoiding blur.
If you are a pro, using flash is still a good idea to capture the Panning photography of high-speed subjects like racing cars or wheels of a vehicle, where there are chances of getting blur effects.
5. Press the Shutter Button
Half-press the shutter button to allow the camera to autofocus an auto exposure. Press the shutter button when you realize you are ready to capture the moment and try the panning technique.
If you are moving along with the subject for panning, complete that shot without stopping midway. As a result, it will be negative. Don’t move the camera after pressing the shutter button for the best panning technique effect.
6. Review the Shot and Experiment

After a shot is complete, it is essential to check and review it. Otherwise, you will be there with the guilt of not reviewing along with all the blur and negative effect images. If the shot is good and the panning effort is great, continue it in the next shots. If it is not good, adjust the camera settings and experiment until you find the best panning shot.
7. Practice the Panning Technique
Practice is important to improve the panning technique, as nothing is learned in the first go. Starting from the panning of slow-speed objects that match your speed or slightly faster than it is a great way to start. So moving bicycles or sports are great for practicing your panning photography skills, as they offer both skill and fast speed, along with various objects.
8. Be Flexible with The Panning Variation

Continuing practicing and experimenting is the key to good panning captures. Though it is not always the case that people get the best panning shots just by following the guidelines. Sometimes, variations bring the best panning results. Mix and match the settings and tips here and see what works better.
For example, you can use the flashlight with the burst mode or capture without the flashlight. You can move with the camera by holding it, using a sturdy standing tripod, or capturing panning photography from the moving vehicle.
9. Use Photoshop

After capturing the panning shots, editing your images is important. The panning effect can also be added with the help of Photoshop. If you can’t pan like a pro or are still in the learning stage, add the motion blur effect with Photoshop to stand out your pictures.
Final Thoughts
Every photography lover wants to capture the perfect shots with panning photography. And doing a lot of practice from learning in the beginning to master this art is the way to get there. This post showed you the best setting of your camera for the perfect panning, along with additional tips and tricks to help you perfectly pan the photography. You can save time by doing extra research and putting that into practice for the best results.
For the best panning results in your photography, add the variation in panning techniques as much as you can, as explained in the last tip in this post. Experiment with a batch of photographs and keep reviewing your panning shots to master the panning photography.
If you want more tips and tricks to improve and master your photography skills, sign up and get the best strategies in your inbox.

Leave a Reply