
Have you been struggling to take razor-sharp images? Are you also a fanatic of detail like me? A seasoned photographer understands the exquisite nature of photography as an art.
The art of taking sharp images is the main goal of every photographer. It doesn’t matter which is your photography style. Our aim is to create sharp, razor-sharp photos that highlight the essential elements of our images.
But there’s no magic trick or button to take sharper photos. There are many variables involved, including how the camera is held, where you place your tripod to capture sharper photos or the settings of your camera, or techniques used by software to enhance your photos.
This article will focus on taking sharper photos as well as tackling the sharpness in editing them.
How to Create Razor Sharp Images?

Creating a sharp image is the first step because if you’re out of focus on your photos, there’s no post-processing that you can do to make it better. A sharp image is the ultimate goal of all photographers. Many new photographers think that creating sharp images is a single-step process. However, it isn’t the case.
There are a variety of ways you can go about every step of making your photograph to ensure that you get a sharp, razor-sharp, and clear picture. It might appear like an overwhelming number of technicalities. However, achieving a sharp image isn’t as difficult as you think.
Pre-Processing: Things to Consider Before Capturing the Shot
Let’s start with the steps that you must take care of in the preprocessing stage to create razor-sharp images:
1. Better Grip
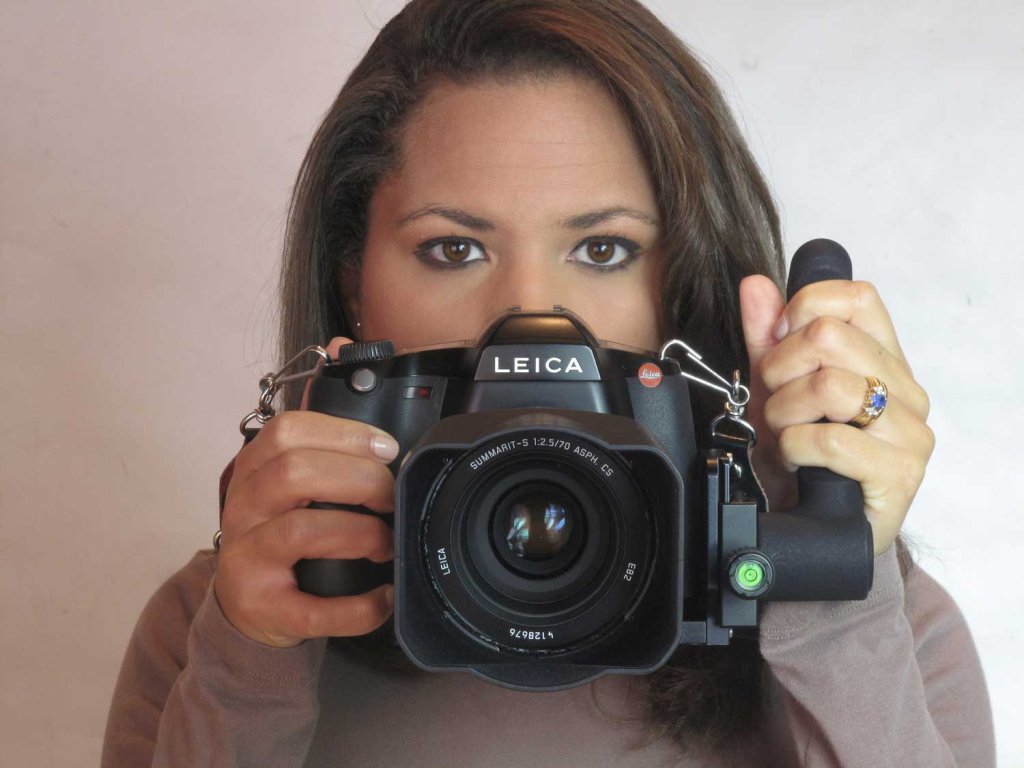
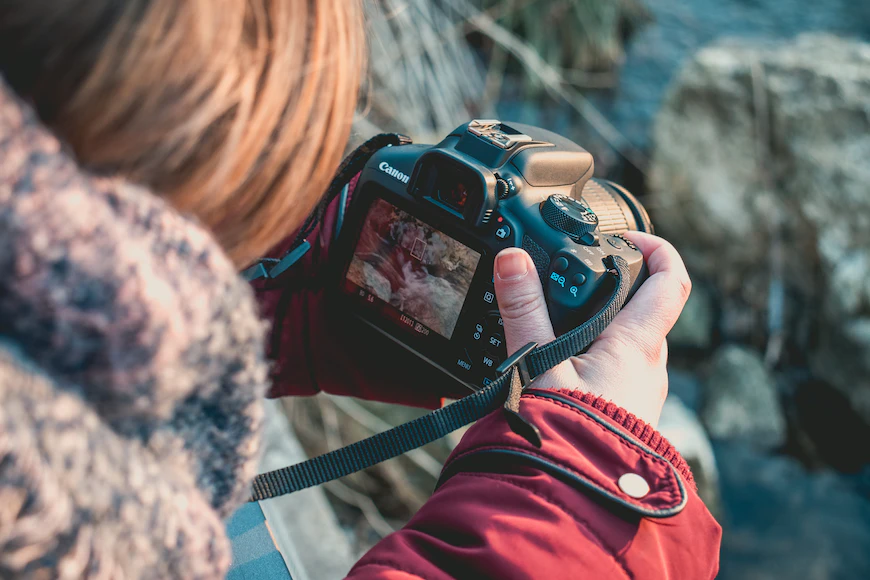
The more motion your camera is exposed to, the less clear your image appears! If you’re looking to capture sharp images each time, camera shakiness is the first factor you have to take into consideration to prevent motion blur. Motion blur is a result of a variety of sources, from taking photos handheld even when you need tripods to tiny vibrations when you press the shutter release button.
The correct way to hold a camera is among the most important photography techniques for novice photographers. Hold your camera to eye level with your feet about the same distance and with one foot ahead of the other to provide greater stability. Once your camera is at eye level, hold your arms near your body to increase stability. Take pictures during the breath cycle.
Be aware of when you should shoot handheld and when not to. Follow the infamous handheld photography rule. This rule states that when shooting handheld, don’t shoot at shutter speeds lower than that of the lens you’re using. This rule is only an example because shooting handheld is dependent on several factors, such as measurement and stabilization of images.
2. Using a Tripod
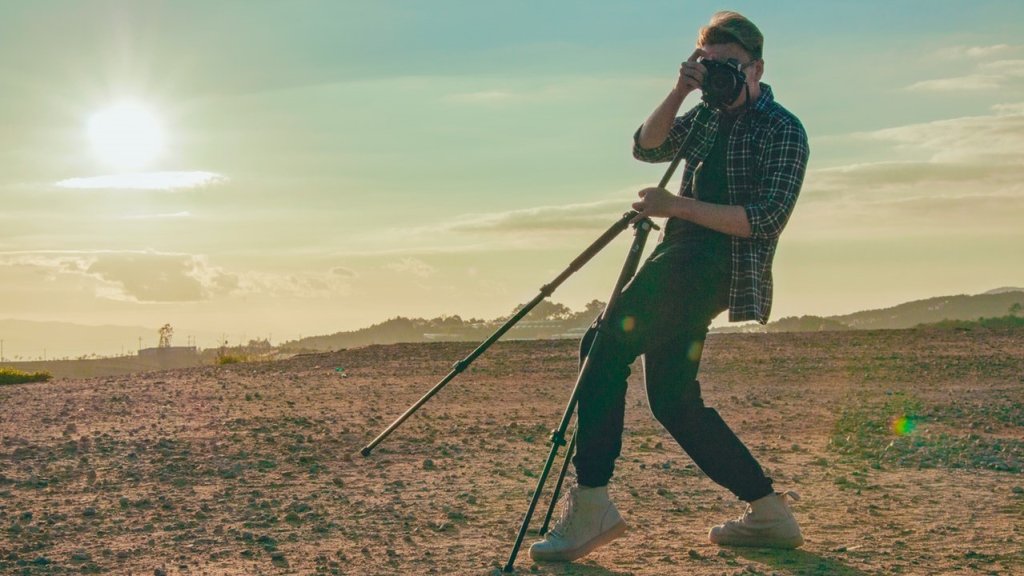
Using tripods is one of the most effective ways to ensure that you are snapping sharp landscapes (and other kinds of photography too). To get sharp pictures using a tripod, ensure that it’s stable and placed on a solid surface. Keep it as low as possible and avoid extending the middle column unless essential.
The legs should be extended starting from the top and ending at the bottom as the legs at the bottom are more prone to instability, and you should only extend them when necessary.
3. Ensuring Right Focus
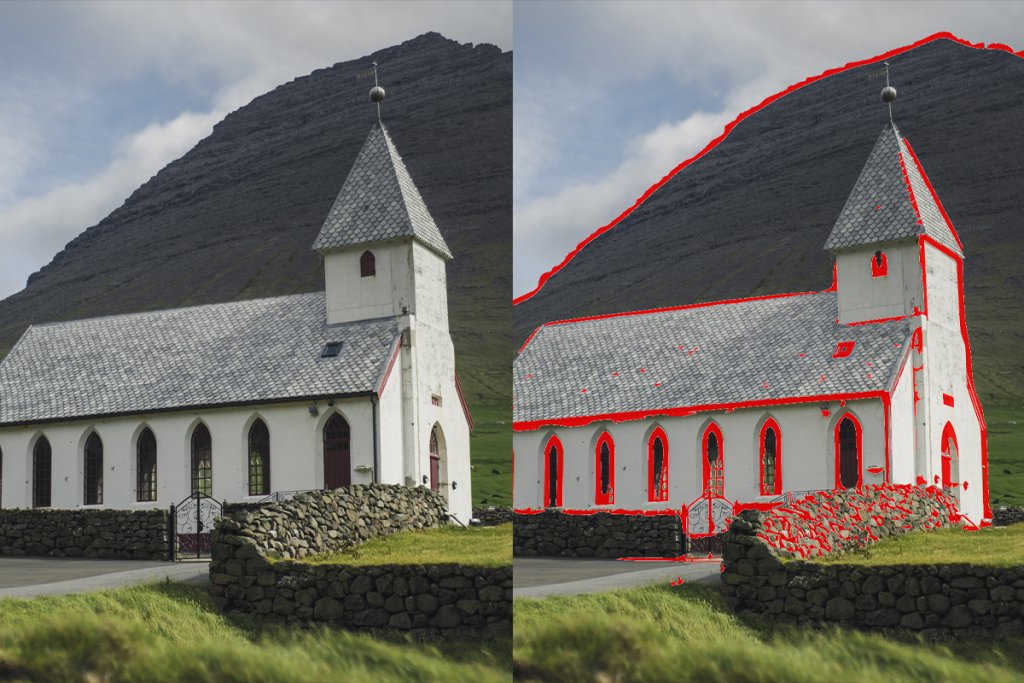
Focus is vital because a misplacement of the focus plane can cause a dramatic loss in the sense of sharpness in the image. Our lens should increase the resolution of our camera. In order to achieve this, the subject needs to remain in focus. Being able to focus on your subject is crucial to capture sharp pictures because it’s difficult to correct after post-production.
It’s possible to make minor adjustments if you miss focusing. However, there aren’t many software corrections that will compensate for the perceptual loss caused by a lens that isn’t in focus.
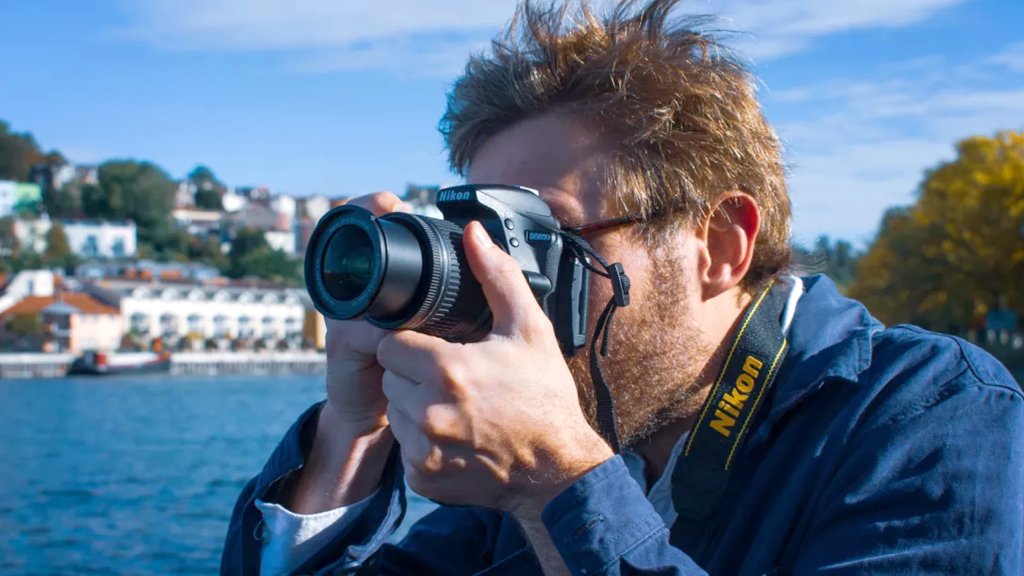
4. Autofocus
Autofocus is generally more practical, but there are instances where it’s not reliable, and you need to focus manually, such as in Milky Way photography or Northern Lights photography.
One of the best ways to get sharp photos using manual focus is using a tripod. To get it done, switch to live-view mode. Focus on a distant light, such as the moon or bright star, then move the barrel of focus slowly until everything appears sharp. It’s crucial to choose the most appropriate autofocus mode to fine-tune the way you and your camera are able to concentrate on an image.
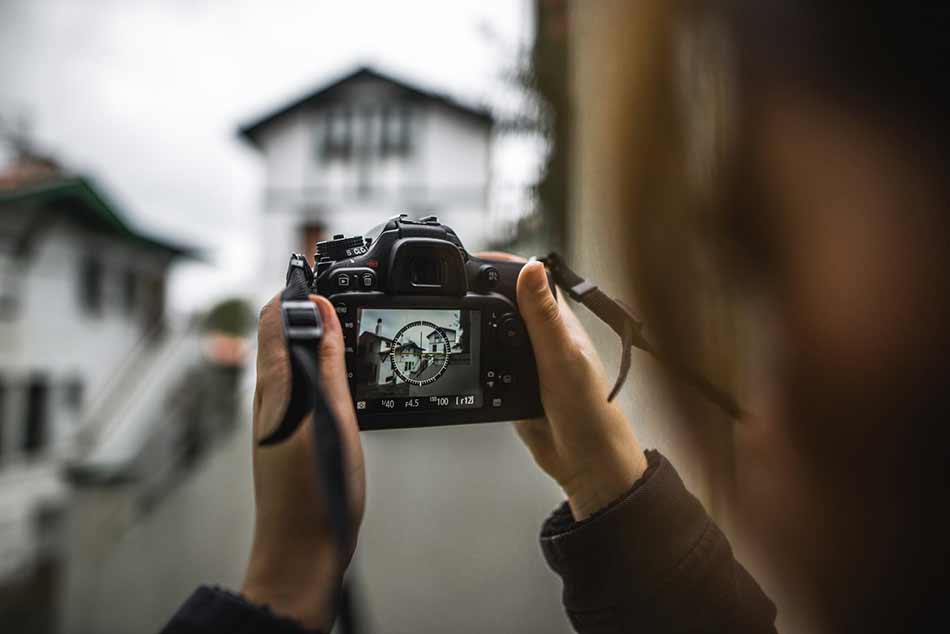
5. Focus Peaking
Modern cameras usually include features like ” focus peaking” to help focus and capture images in dim light or other conditions.
By using focus peaking, your camera will highlight the regions that are focused within your image in bright colours so that you can alter the focus and capture sharp images manually focused.
6. The Subject Matter

The subject matter you choose to focus on and choosing the appropriate autofocus mode essential to capture the sharpest photos. In general, in order to get more detail in your photos dependent on the subject, you must employ Autofocus Single (AF-S) to create sharp landscape photographs and stationary subjects.
Use Autofocus Continuous (AF-C) to take sharp photos of birds or sports, or any other motion-related subjects and Autofocus hybrid to capture sharp group photos as well as other situations in which the subject may be stationary or moving.
7. Right Camera Settings
Sometimes, we overlook the camera settings. Remember it’s the best way to get sharp pictures is to alter the settings within the camera. Aperture as well as shutter speed, and ISO, every one of the fundamental camera settings in exposing photographs also impacts the clarity of a photograph to a great degree.
In this way, the most effective settings to take sharp images are determined by taking into consideration the ways that the various elements in the triangle of exposure play a role not only in the exposure but also in the sharpness of your image.
Post-Processing: Aftermath of Clicking a Photo
After having taken special care in capturing sharp images, next comes the post-processing phase, where you can improve upon your captured images. Follow the following steps in the post-processing or editing stage to create razor-sharp images:
1. Manually Blend Your Images

If you’ve gotten the right exposure in the camera and you’ve got it right, nothing can permit your images to keep their natural sharpness more than the manual blending of exposures.
The majority of HDR software softens your image’s pixels and magnifies the noise. Some will even over-sharpen your photos. Digital blending techniques won’t alter the original file by any means, meaning that both noise and sharpness remain unaltered.
2. Utilise Sharpening Tools
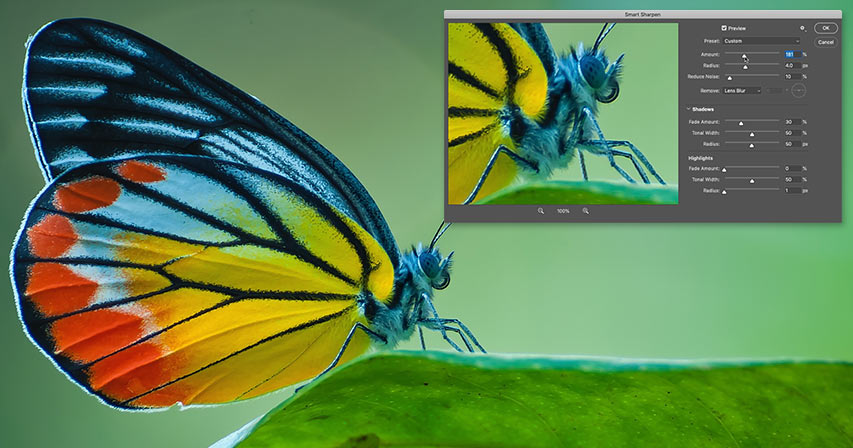
Photoshop has a variety of extremely good sharpening tools, such as Unsharp Mask or Smart Sharpen. Perhaps the most powerful of these is the High Pass Sharpen filter. These tools can be easily used to enhance the quality of your images.
3. No Need to Sharpen Every Object

While sharpening tools are able to do an excellent job, it’s often better to be careful about the sharpening you do. For instance, it’s not necessary to sharpen clouds and water since they are intended to have a soft appearance.
Also, you may see the white edge of objects that have been sharpened too much. In these cases, it is best to perform your sharpening in an additional layer to mask any unwanted changes.
4. Remove Noise in a Selective Manner
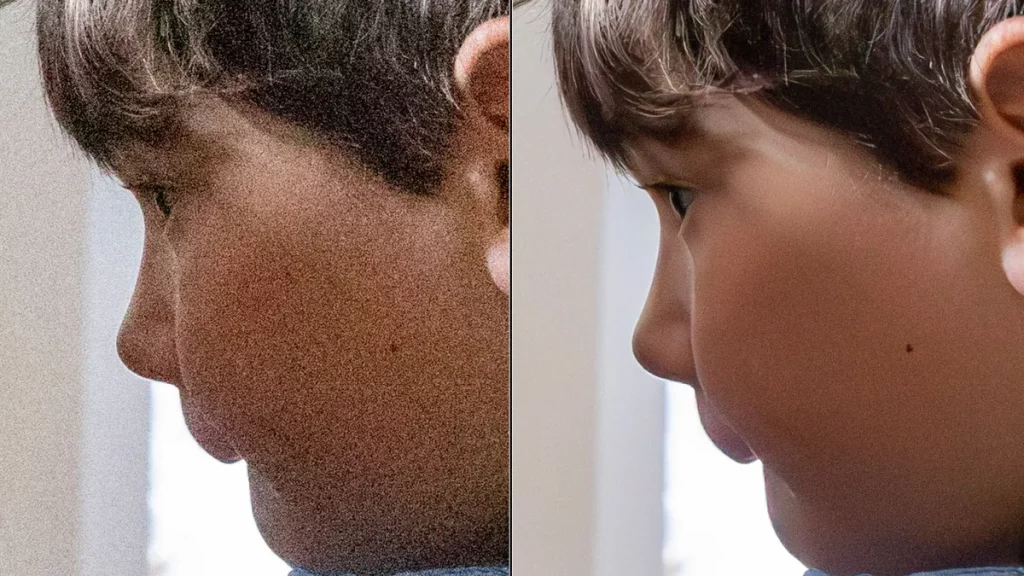
Just as with sharpening only in select instances, it is essential that when we have to eliminate any noise, we do it in a controlled manner.
Every noise removal procedure can result in a loss of clarity. This is a fact. However, if we take out noise using an additional layer, we can block the textured areas as well as other areas that have been softened.
5. Editing for Social Media

Facebook and Instagram are known to compress our photos to next to nothing and leave the images with ugly bands and soft edges at times. To keep some sharpness even after reducing your image’s dimensions for the web. Go to the Filter menu, then Sharpen, and finally select Smart Sharpen.
Apply this to the duplicate layer. If you notice any edges that are too sharp, reduce the opacity of your sharpened layer and cover the areas that are affected.
Summing It Up
Whether you are a seasoned photographer or a novice, or simply a traveler who wants to capture good quality pictures to keep as souvenirs, you do need some basic photography skills. It might seem like a very tough task, but acquiring these skills is quite easy.
We have listed nine tips in the preprocessing and post-processing stage which include tips on how to hold the camera, the right camera setting, including focus, and also how to use AI tools and software to reduce noise and obtain razor-sharp images.
We hope these tips help you in capturing wonderful and
sharp images
. If you have some other tricks up your sleeve, please feel free to drop them in the comments below to help your fellow readers. Thanks for visiting!


Leave a Reply